Walnut Hill College Presents Free Recipe E-Books for All Occasions
Walnut Hill College Presents Free Recipe E-Books for All Occasions
Walnut Hill College Chef, Faculty, and Staff join forces to bring you their favorite home recipes for the holidays and beyond.
One hundred percent of our Chefs, Faculty, and Staff submitted their favorite recipes to give our students, parents, and our community members easy access to time-tested recipes from their kitchens to yours.
We present our beautifully crafted (and complimentary!) recipe e-books for your cooking pleasure! Our Chefs come from all professional and personal backgrounds and we’re sure you’ll find plenty of recipes to love and try in your own home, year after year.
Check out all of our recipes on our e-book library directory and make sure to bookmark this page for future access! We are going to bring you more e-books throughout the year that will cover a range of topics and experiences.
Below is a sample of some of our e-books that we think you will enjoy!
Thanksgiving celebration 2020: A collection of recipes, memories, and more
This Thanksgiving holiday is truly a time to give thanks and express gratitude. This is our way of thanking you for sharing your goals and dreams with us; earning your degree and launching amazing careers. This year, all of us have been feeling the extra challenge. What better way to renew our collective-pledge than to focus on you and your career.
Bistro Perrier Sept Poissons 2020
Special Note:
Yes, on page 13 that is Georges Perrier serving Julia Child, at the home of a dear friend, Chef Esther Press. And that is me in the background talking with the owner of Le Bus, David Braverman. David is also a graduate. During that very special evening, Esther invited the “crème de la crème” to her home to dine with Julia Child. In looking at the galaxy of stars gathered at Esther’s beautiful home, I realized “There is no reason for anyone to go to dinner tonight because every great chef is here!”.
New Year’s Eve Celebration Recipes 2020
 As the new year approaches, everyone in the world has many reasons to celebrate; a year filled with hope, promises, and great health. There is no better way to celebrate a new beginning than with delicious food and great hospitality. Our fantastic Student Life team along with our faculty and staff have created a 34-page book featuring recipes for wonderful beverages, savory bites, and sweet treats.
Healthy Cooking & Lifestyle 2021
2021; this new year is the beginning of new goals and achievements, and a return to those dreams and missions that guided us through 2020. Everyone in the Walnut Hill College community has similar goals for the new year; to be healthy and create a revived lifestyle. One of the greatest enhancements to our health will be to reaffirm our studies and investment in our careers. Look ahead and notice there is nothing stopping you now. 2021 – here we come!
Share With Us!
We look forward to bringing you more complimentary recipe books in the coming months and hope to see your dishes! Make sure to tag @walnuthillcollege in your posts on Instagram and Facebook to show off your delicious creations.
Happy Cooking!
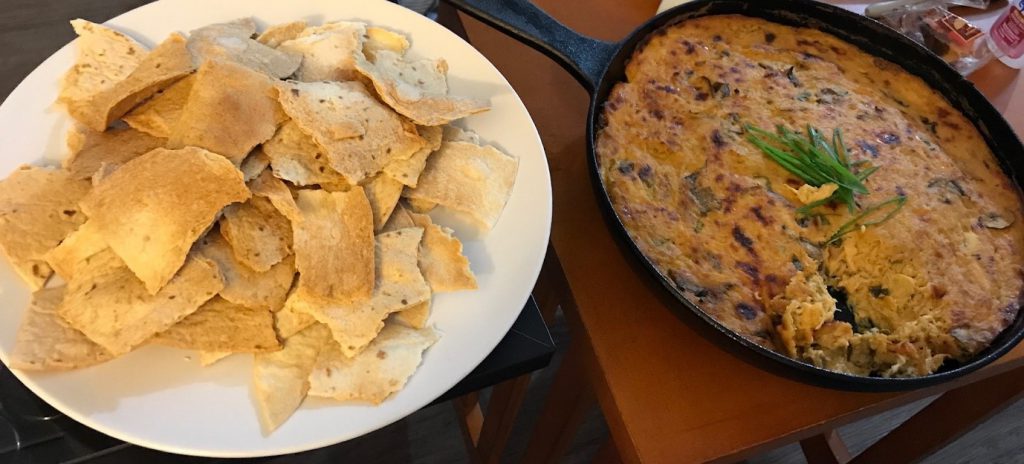 Barbeque Chicken Dip Ready for Game Day Action!
 Steven Walsh
 Meghan Young
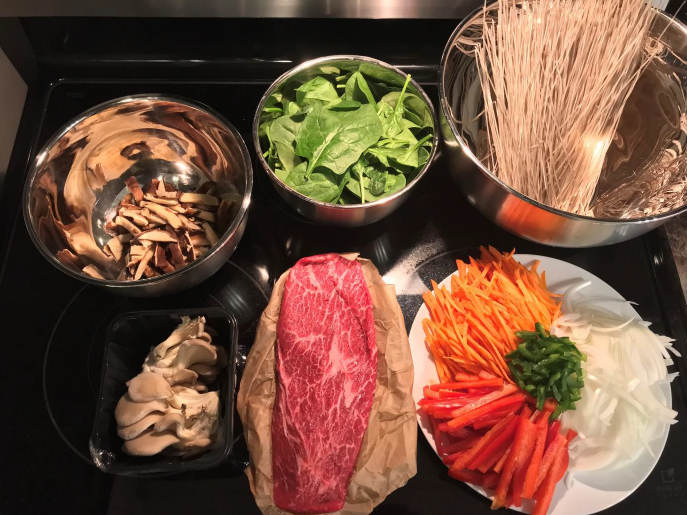 Japchae ingredients
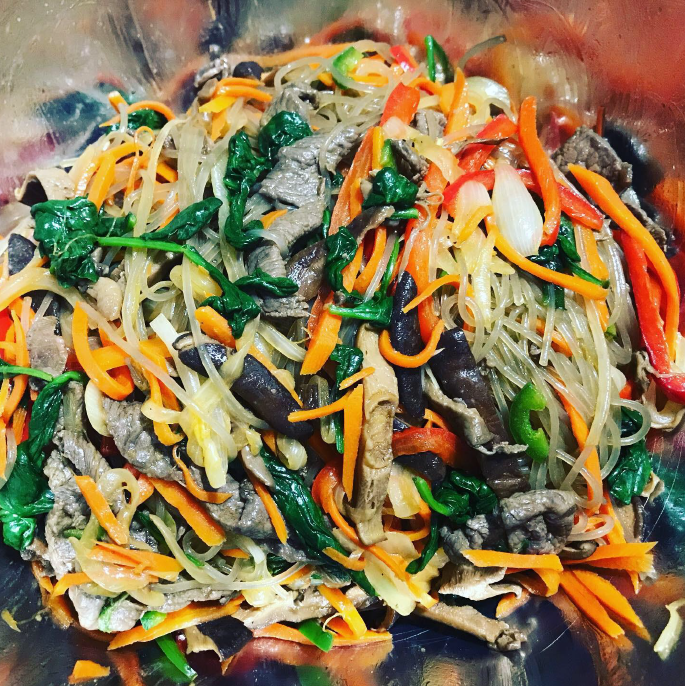 A delicious stir-fry dinner ready to eat!
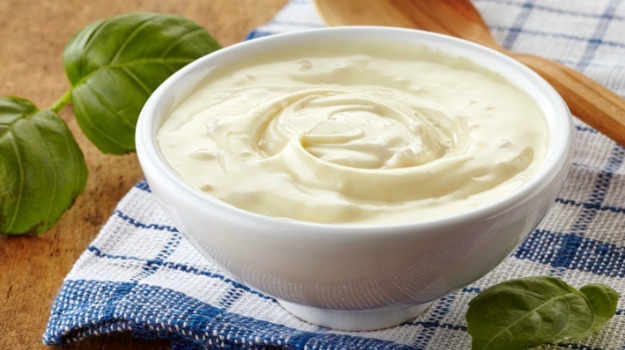 Make your own delicious homemade mayonnaise today!
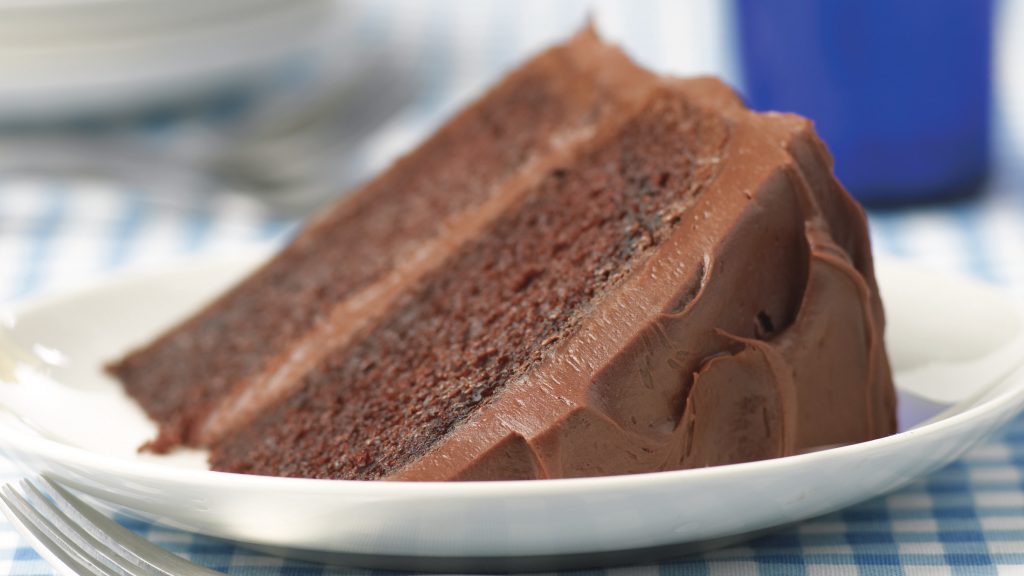 Double Chocolate Mayo Cake