Under the weather? Get well soon with Grandma’s Chicken Soup.
Hey, everyone! I hope you’ve been keeping healthy during this season of head colds and stomach bugs. I personally came down with a head cold, and it was a nuisance to get over. Whenever I get sick, it feels like a wrench has been thrown into the multi-part machine that is my everyday life. My strategy is to get better as quickly as possible. Nothing is better than quality rest and lots of fluids, but I do have some home remedies that at least make me feel better. It’s these little things that help me get better as quickly as I can.
Growing up, there were many occasions during which Grandma’s matzah ball soup was eagerly awaited. Everyone in my family loves it, and my grandmother is always so kind as to make enough for everyone to take some home. To this day, this soup is what I look for when I’m feeling under the weather. There’s just something about properly done matzah ball chicken soup that revitalizes me and kicks the sickness right out. When my grandmother gave me her recipe, I hesitated at first to make it. I don’t mean to offend anyone whose matzah ball chicken soup I’ve had in my lifetime, but it has never held a candle to hers. I was worried that mine would never be able to measure up to the soup I remembered growing up. Recently, I changed my mind and figured I should start attempting to make it. Maybe in time, I can come close to the original!
One of the things that I love about this recipe is that it’s simple. Like many good things, time is the key to this soup’s success. Good preparation also makes this dish much easier to produce, which makes for an easier cleanup as well. The recipe for roughly six quarts of soup is below, and I really do recommend not trying to scale this down. If you have freezer space, you can make very large batches of this soup, which makes for fantastic eats throughout the year. Last, as you may notice in the recipe below, the chicken is roasted whole and then split in two. Again, I recommend using this technique, but, if necessary, pieces can be used as a substitute.
Ingredients:
1 whole chicken, fryer (2 ½ – 4 ½)
1 gallon cold water
4 celery hearts
1 large onion
2 parsnips, quartered
1 cup chicken broth
1 bunch dill
Preparation:
- Roast chicken with vegetables to lightly color chicken (15-20 minutes at 400°F).
- Cut chicken in half. (I use kitchen scissors.)
- Place remaining ingredients in small stock pot, bring to a boil, then simmer 2-3 hours covered.
- Once finished, remove meat at room temperature and pull chicken/remove bones.
- Add chicken back to soup and serve. (Season at the table!)
One of the reasons you should keep the chicken in halves, if not whole, is that this allows you to imbue so much flavor into the broth during its cooking process. It is also much more pleasant in the final dish if the meat is torn instead of diced or chopped. This soup is usually accompanied by light, fluffy matzah balls, which elevates this soup immensely. I feel as though this soup would also be great with rice or some type of noodle. This turned out to be very fun to make, and I’ve learned a lot about one of my favorite dishes. I feel lucky to have people in my life who can pass on such great things to me. I hope you’ve enjoyed this post, and, if you’re sick, get well soon!
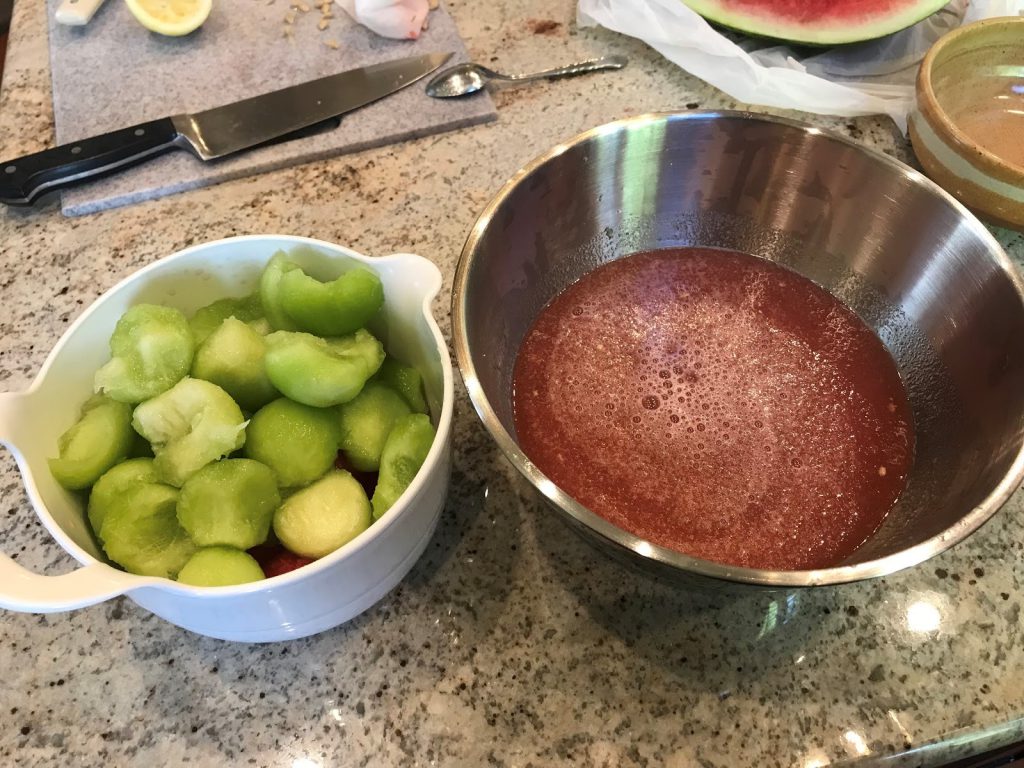 Ready to make Bingsu!
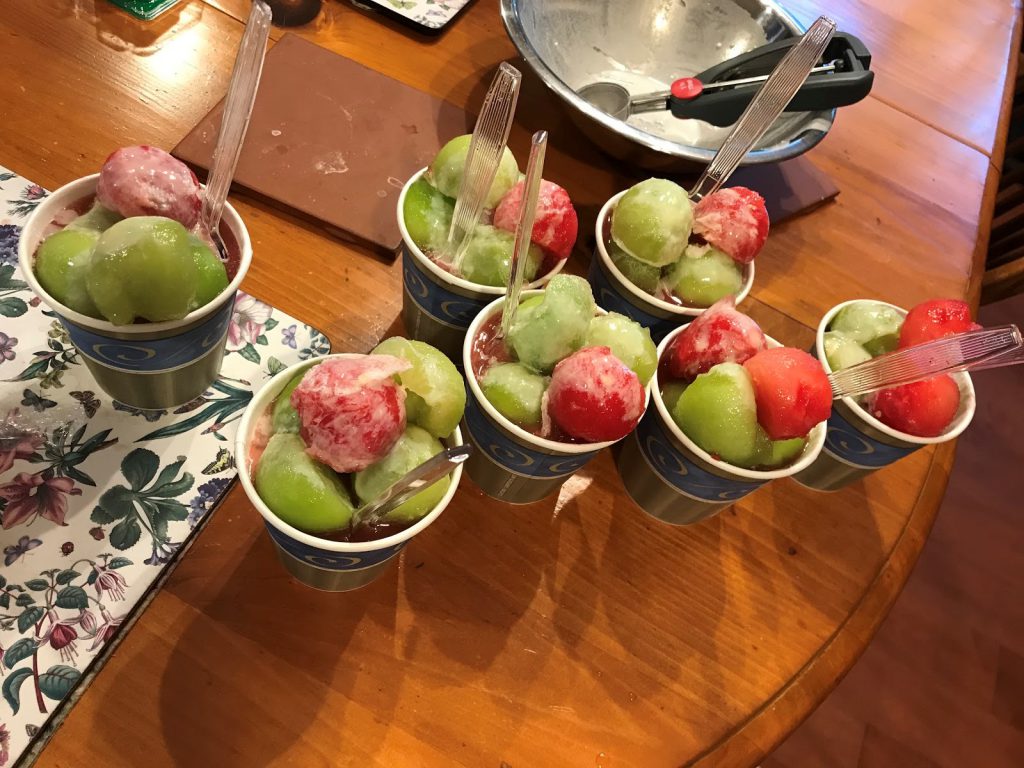 The final result!
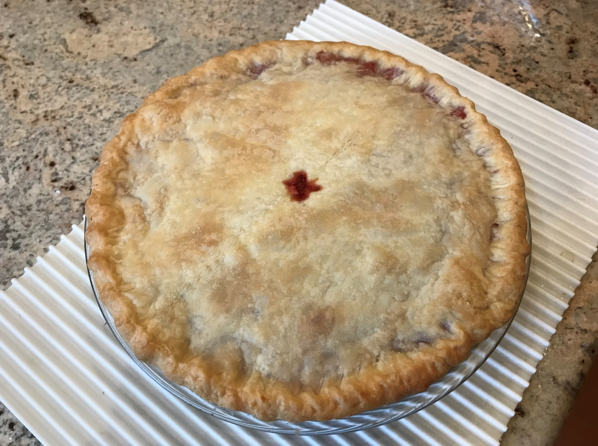 Strawberry Rhubarb Pie
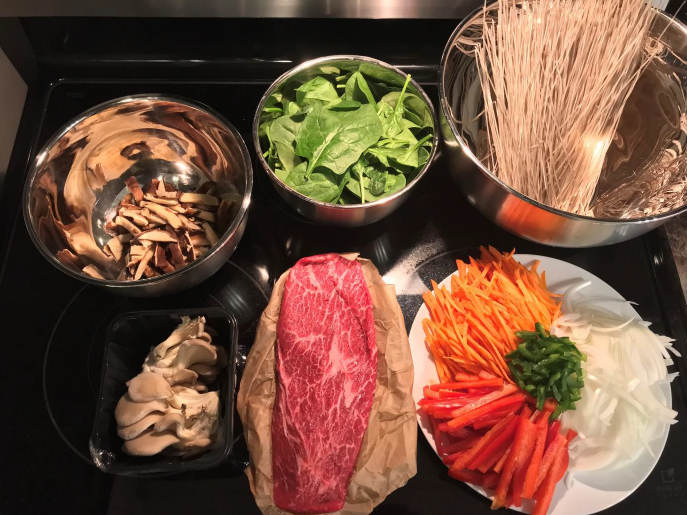 Japchae ingredients
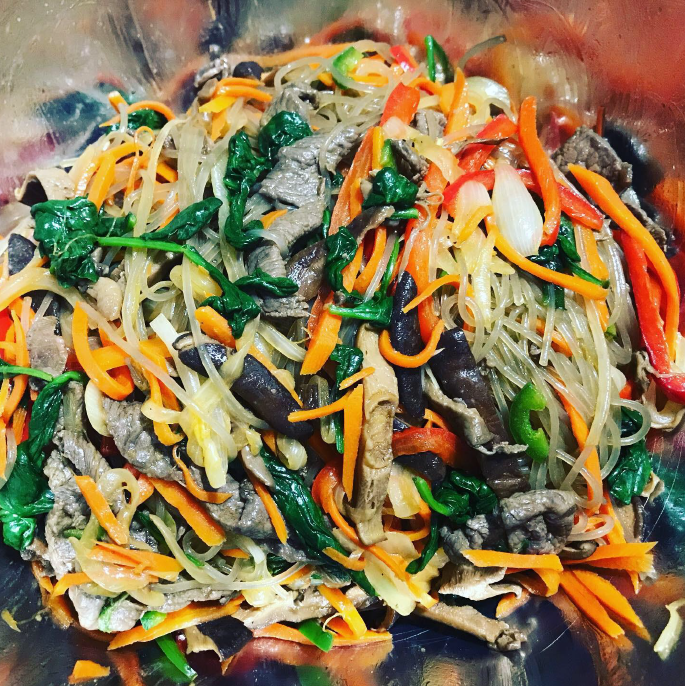 A delicious stir-fry dinner ready to eat!
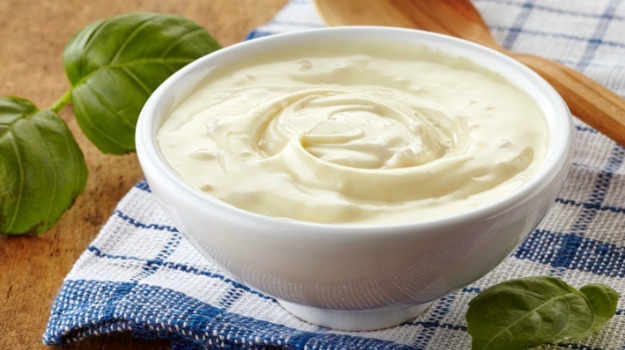 Make your own delicious homemade mayonnaise today!
 Double Chocolate Mayo Cake