A return to classic French cuisine and tableside service
By Sharlene Johnson
As published in the University City Review, September 5, 2018
“This is my [last] stop. I’ll cook whatever they want me to do, but I will not do anything for anybody else, except Walnut Hill College.” -Georges Perrier
Getting ready for the start of another school year is always an exciting challenge for the chef instructors at Walnut Hill College. Doing that in conjunction with the launch of a brand new restaurant concept has brought the usual hustle and bustle on the University City campus to a fever pitch, as the team not only puts the finishing touches on a new menu but also prepares to teach their students how to make each dish to perfection. While that may seem daunting to some, the college’s experienced chef instructors are up to the task, and they received some expert guidance from a familiar face and a culinary legend: Walnut Hill College Master-in-Residence, Georges Perrier. Chef Perrier’s involvement in the new restaurant is no coincidence—after all, it bears his name. Opening Wednesday, September 5, Bistro Perrier is an ode to the classic French bistro and represents the close relationship between Walnut Hill College and Chef Perrier that has endured for years.
A long-time friend of the college, Georges Perrier was named Master-in-Residence in 2017 and will lead workshops for Walnut Hill College students and staff in the coming school year. He was set to start his duties last school year; however, a severe heart attack in March almost took his life and resulted in him having to undergo emergency surgery. Thankfully, Chef Perrier survived, and after months recuperating, he is finally ready to return to the kitchen to assist with preparations for a restaurant he holds dear.
In honor of the renowned chef, Walnut Hill College has appropriately named its new restaurant Bistro Perrier, serving French cuisine in a European courtyard setting. Leading the staff behind the restaurant is Executive Chef and Director of Culinary Operations, Todd Braley, former co-chef/owner of The Pickled Heron in Fishtown. Chef Braley and his team have created a menu that highlights uniquely French fare, including Salade Lyonnaise, Escargots en Croûte, and Steak Tartare, while paying homage to Chef Perrier with daily specials from his famed Le Bec-Fin menu. Bistro Perrier will also offer tableside service, allowing guests to have an entertaining and heightened sensory experience as they watch their food being prepared by Walnut Hill College’s Hotel and Restaurant Management students.
Of course, no restaurant named after a chef of Perrier’s caliber would be complete without a lesson from the man himself, which is why the college’s chef instructors became students for a day as Chef Perrier taught them how to make sauces, his specialty. On Thursday, August 16, Chef Perrier presented Walnut Hill College’s first ever “atelier du chef,” or chef’s workshop, a pedagogical initiative designed to help the chef instructors create standardized cooking procedures to teach their students. Working side by side with Chef Perrier, the instructors whipped up Sauce Béarnaise, Sauce Choron, Sauce Rouennaise, and Jus de Poulet, and they relished the opportunity to learn something new about sauces they’ve been making for years from one of the most accomplished chefs in the industry.
Bistro Perrier
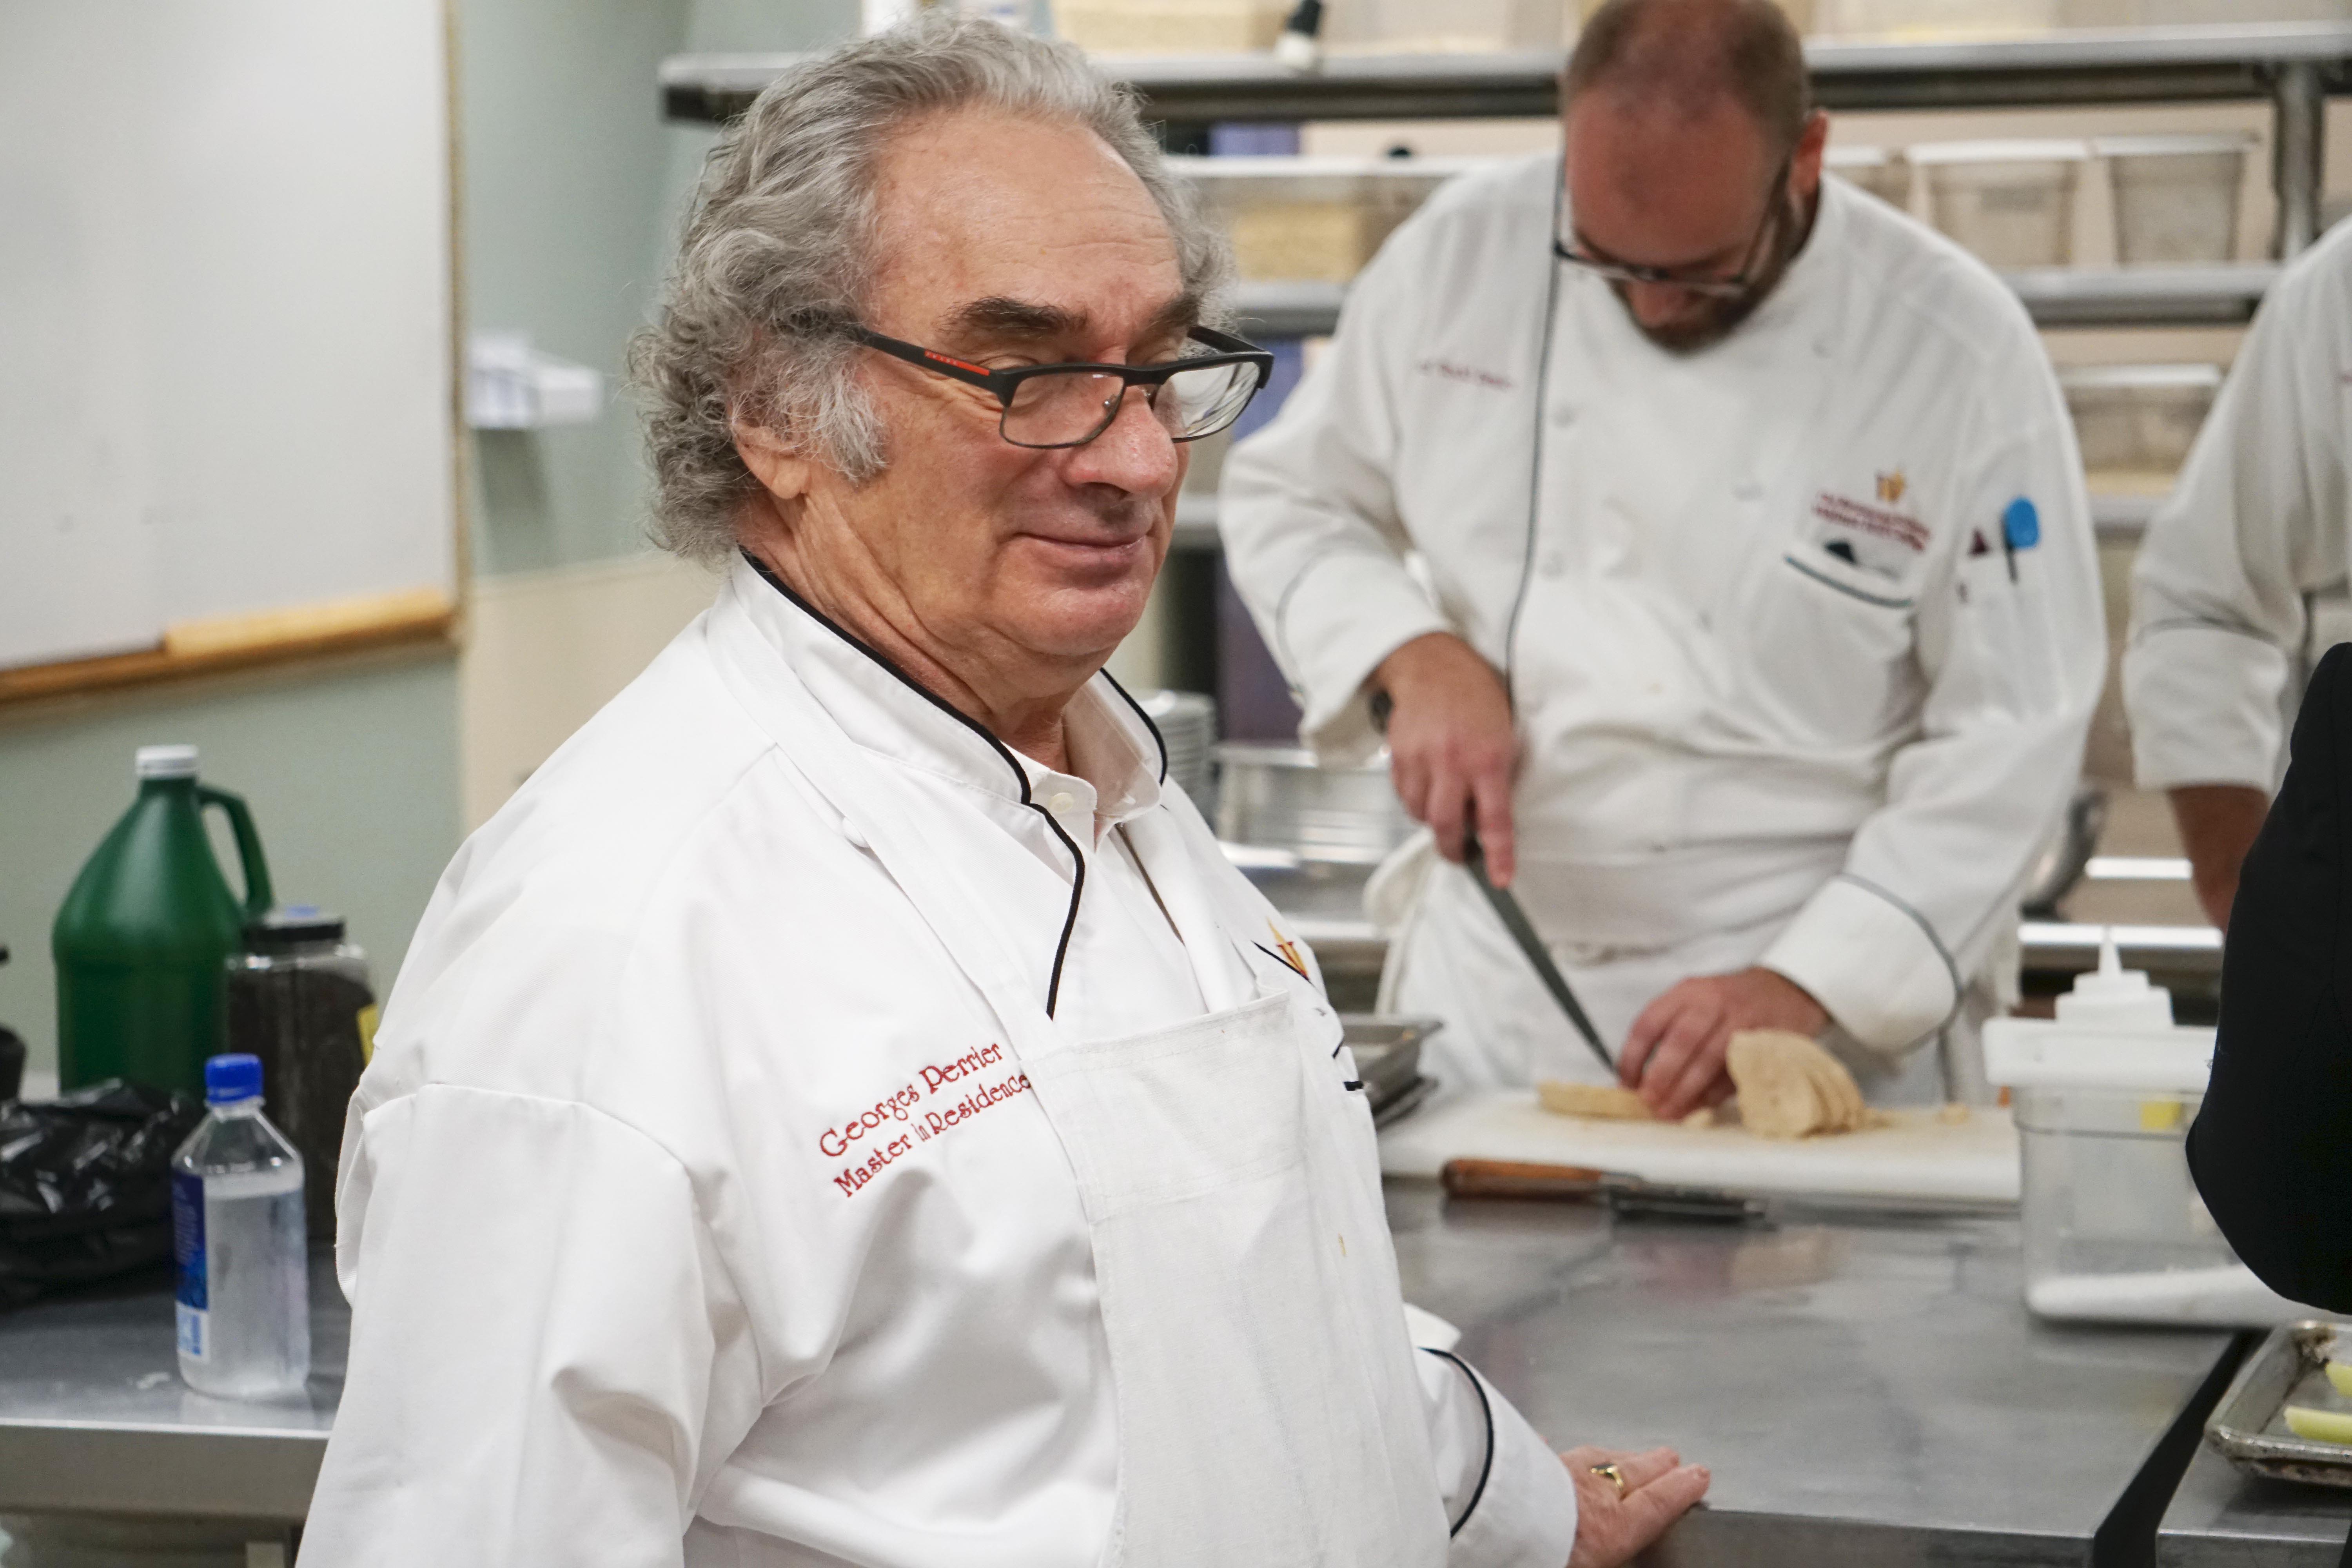
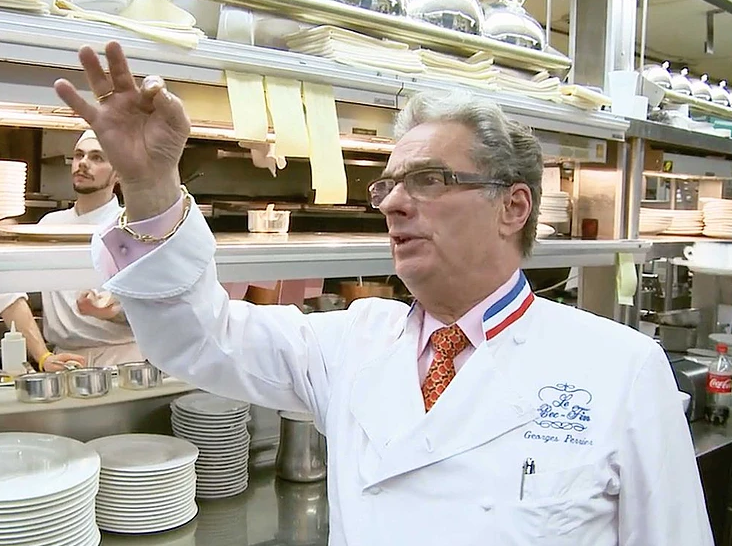
Chef Georges Perrier

Executive Chef Todd Braley (right)

Chef Perrier leads the first "atelier du chef," or chefs' workshop, at Walnut Hill College
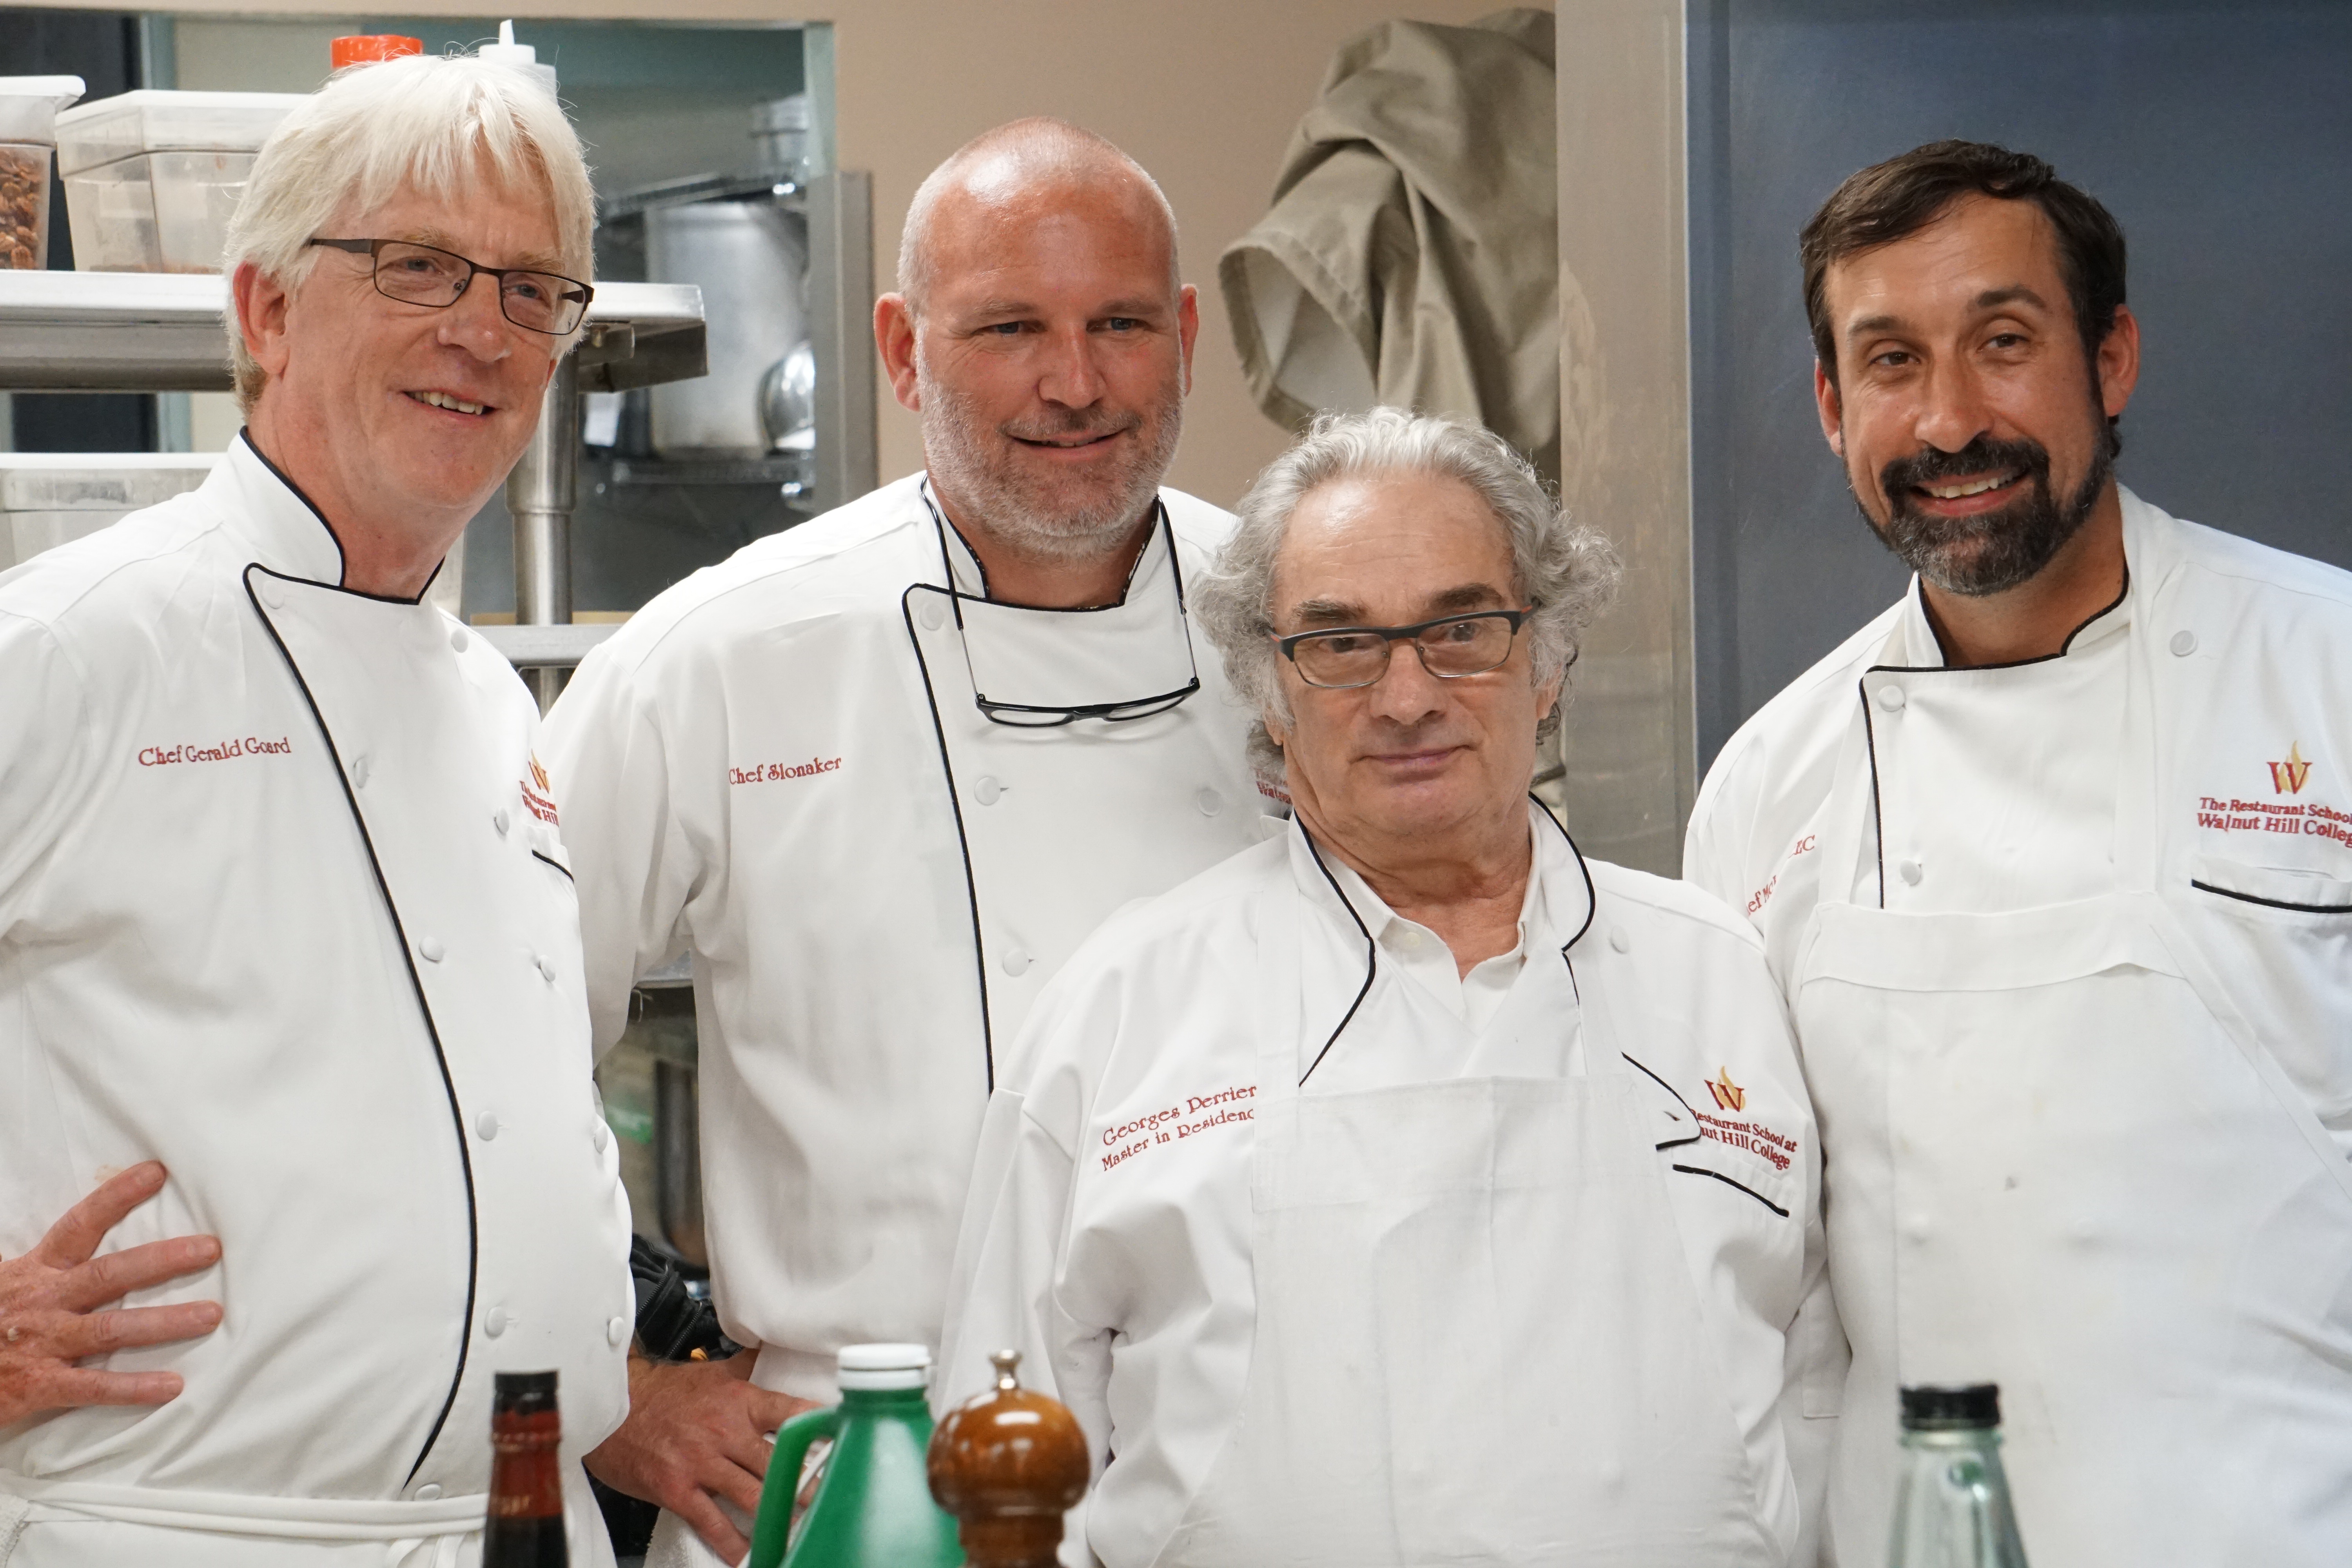
Chef Perrier poses with Walnut Hill College chef instructors
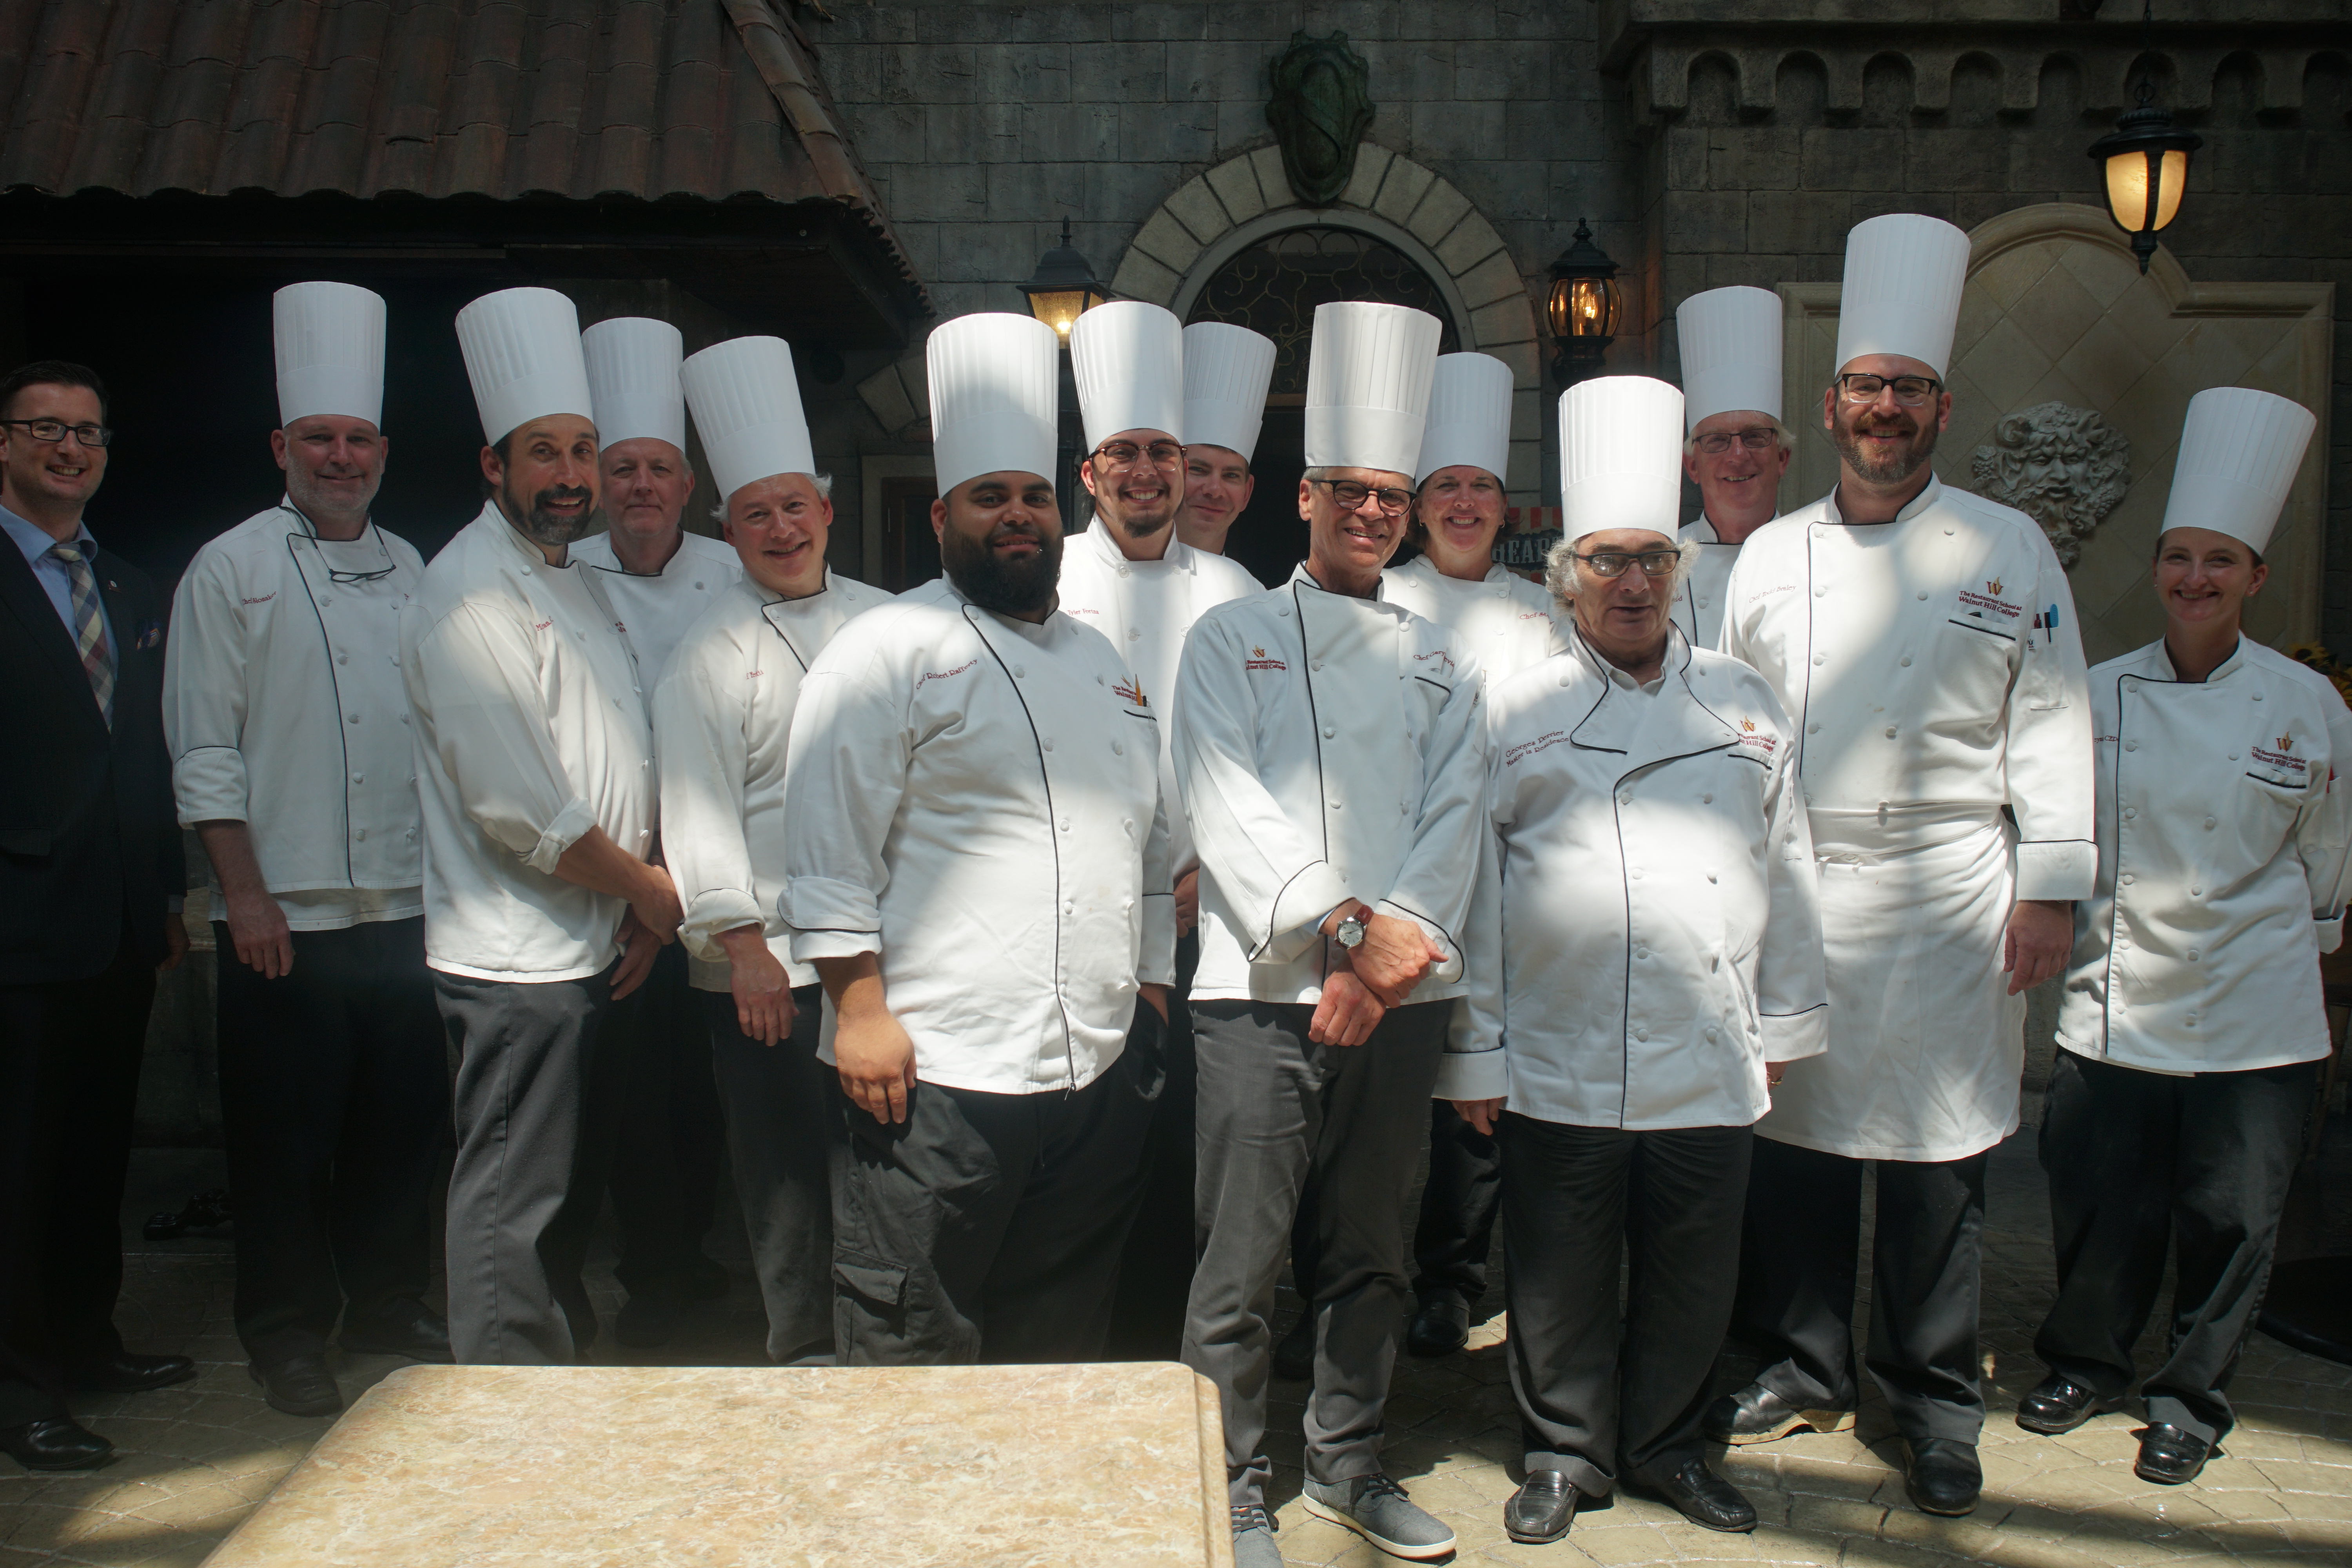
Chef Perrier and the entire chef faculty at Walnut Hill College
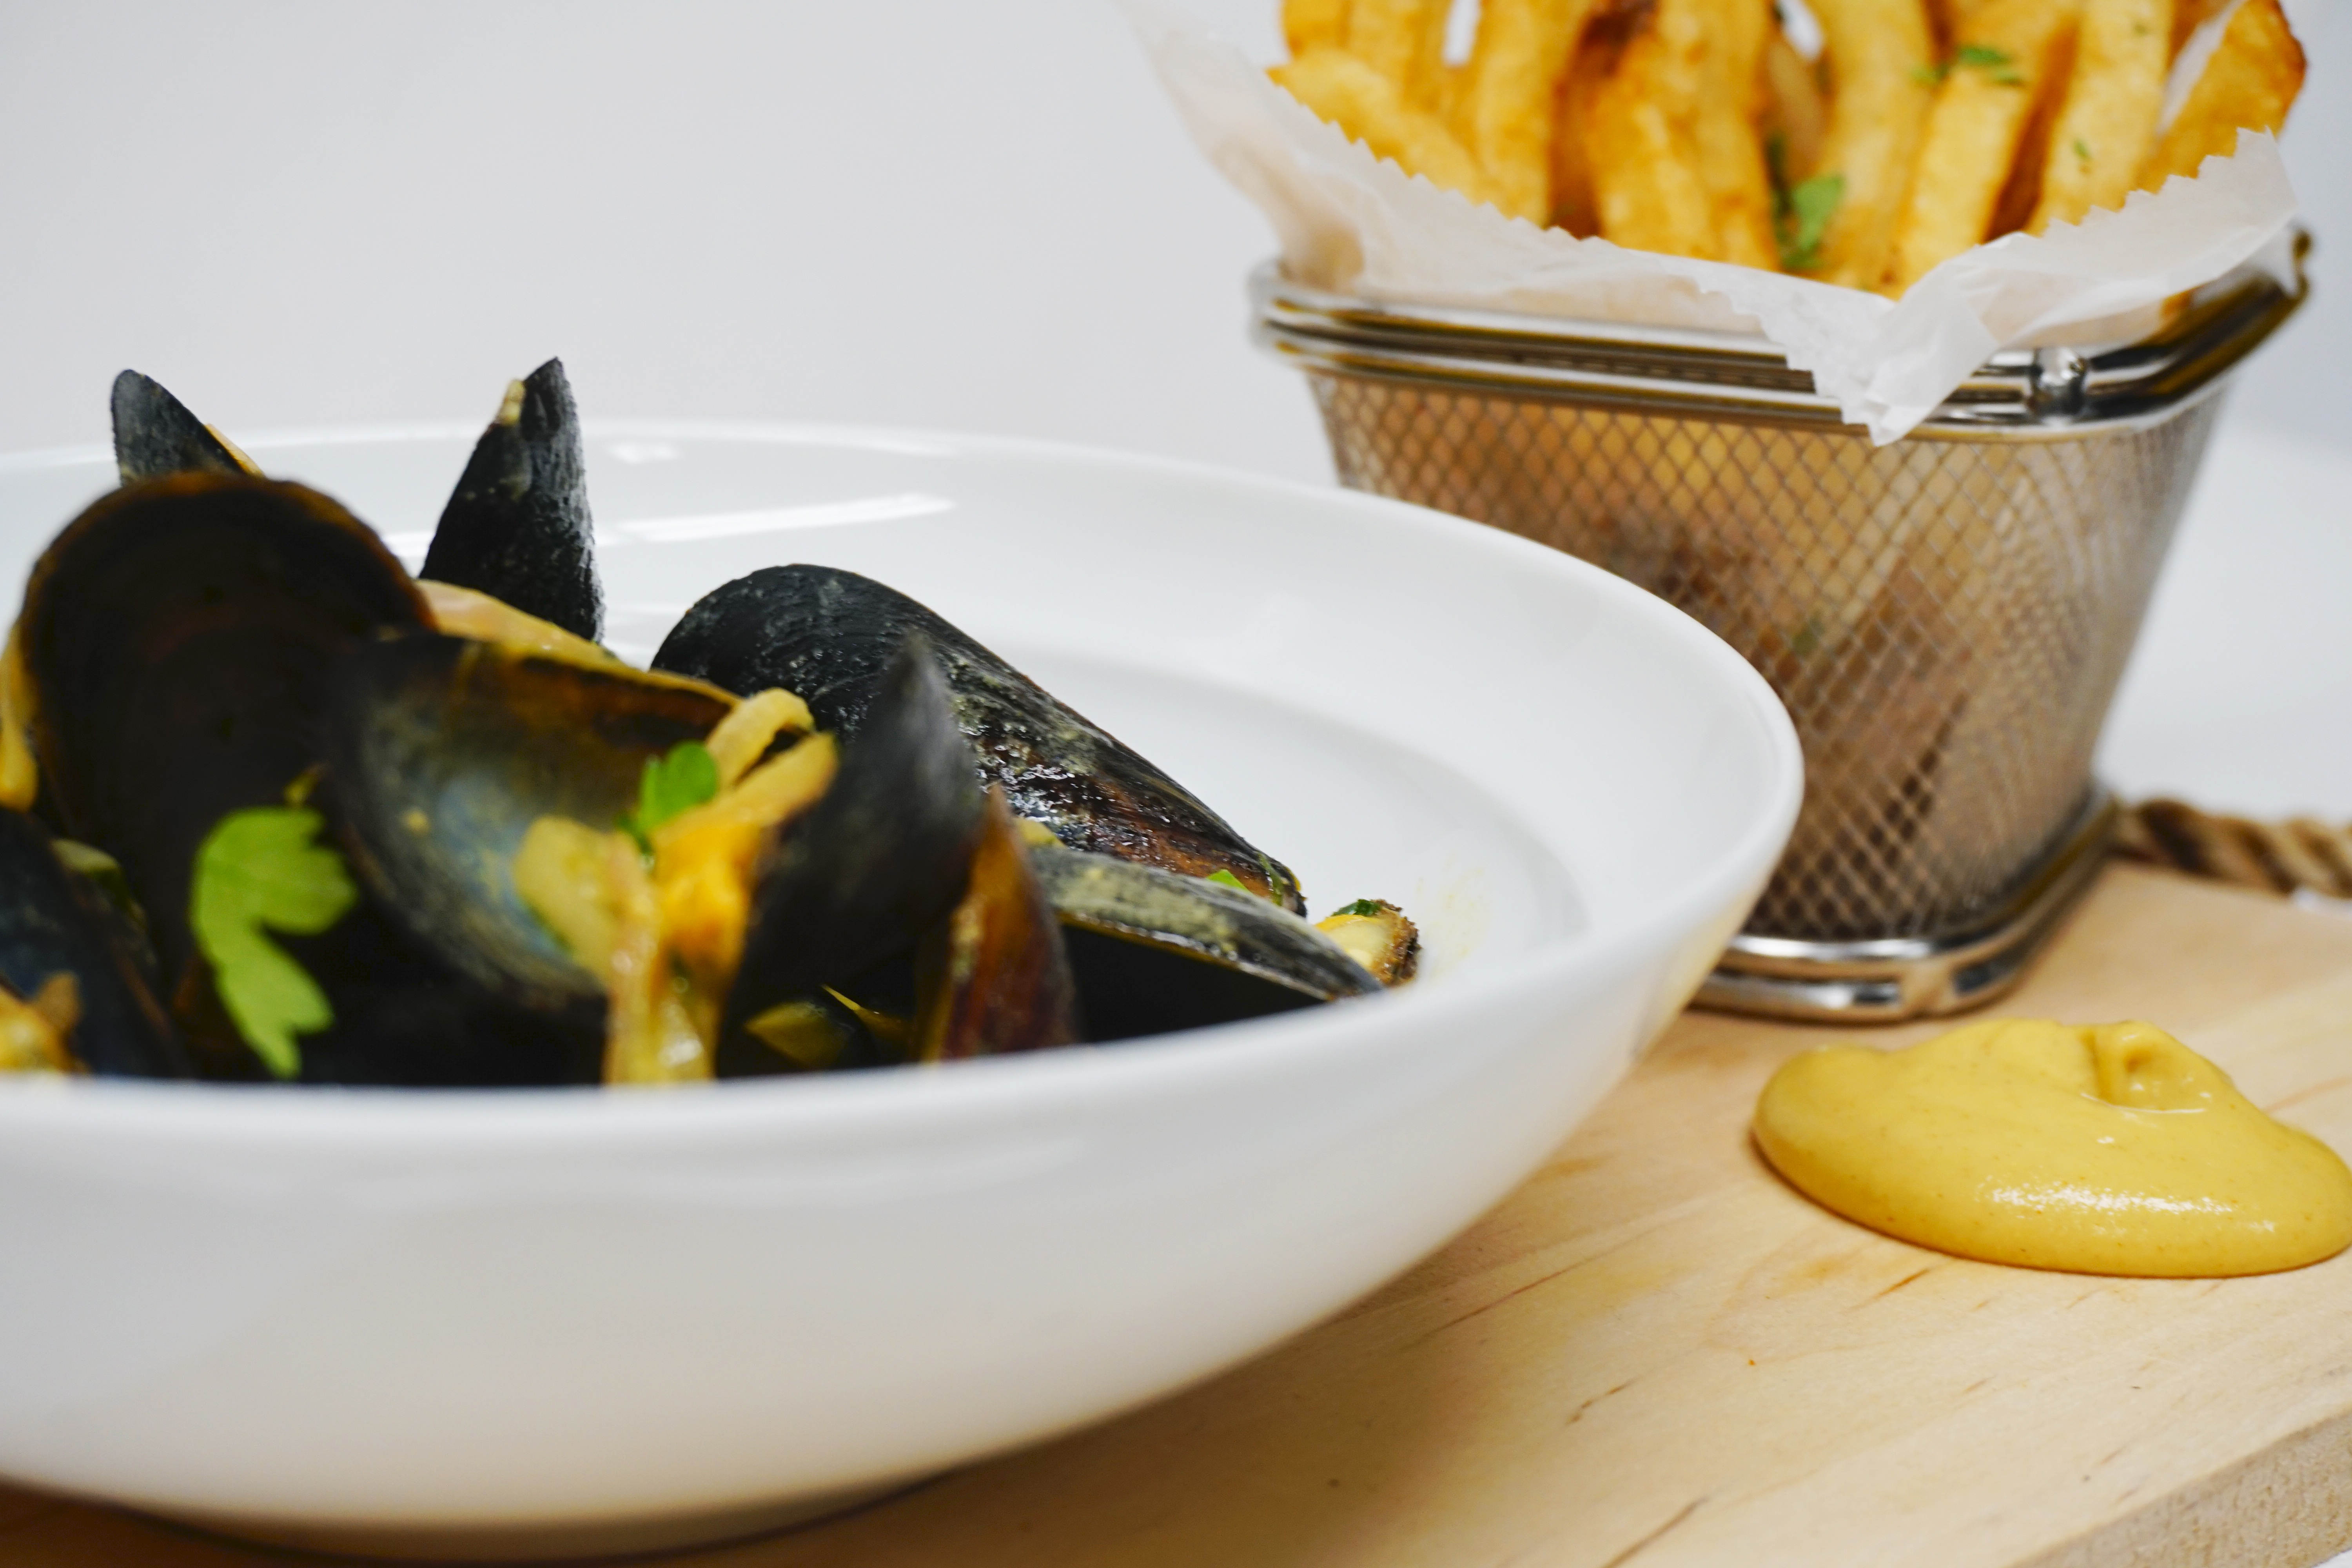
Mussels et Frites: Saffron, Dijon, White Wine
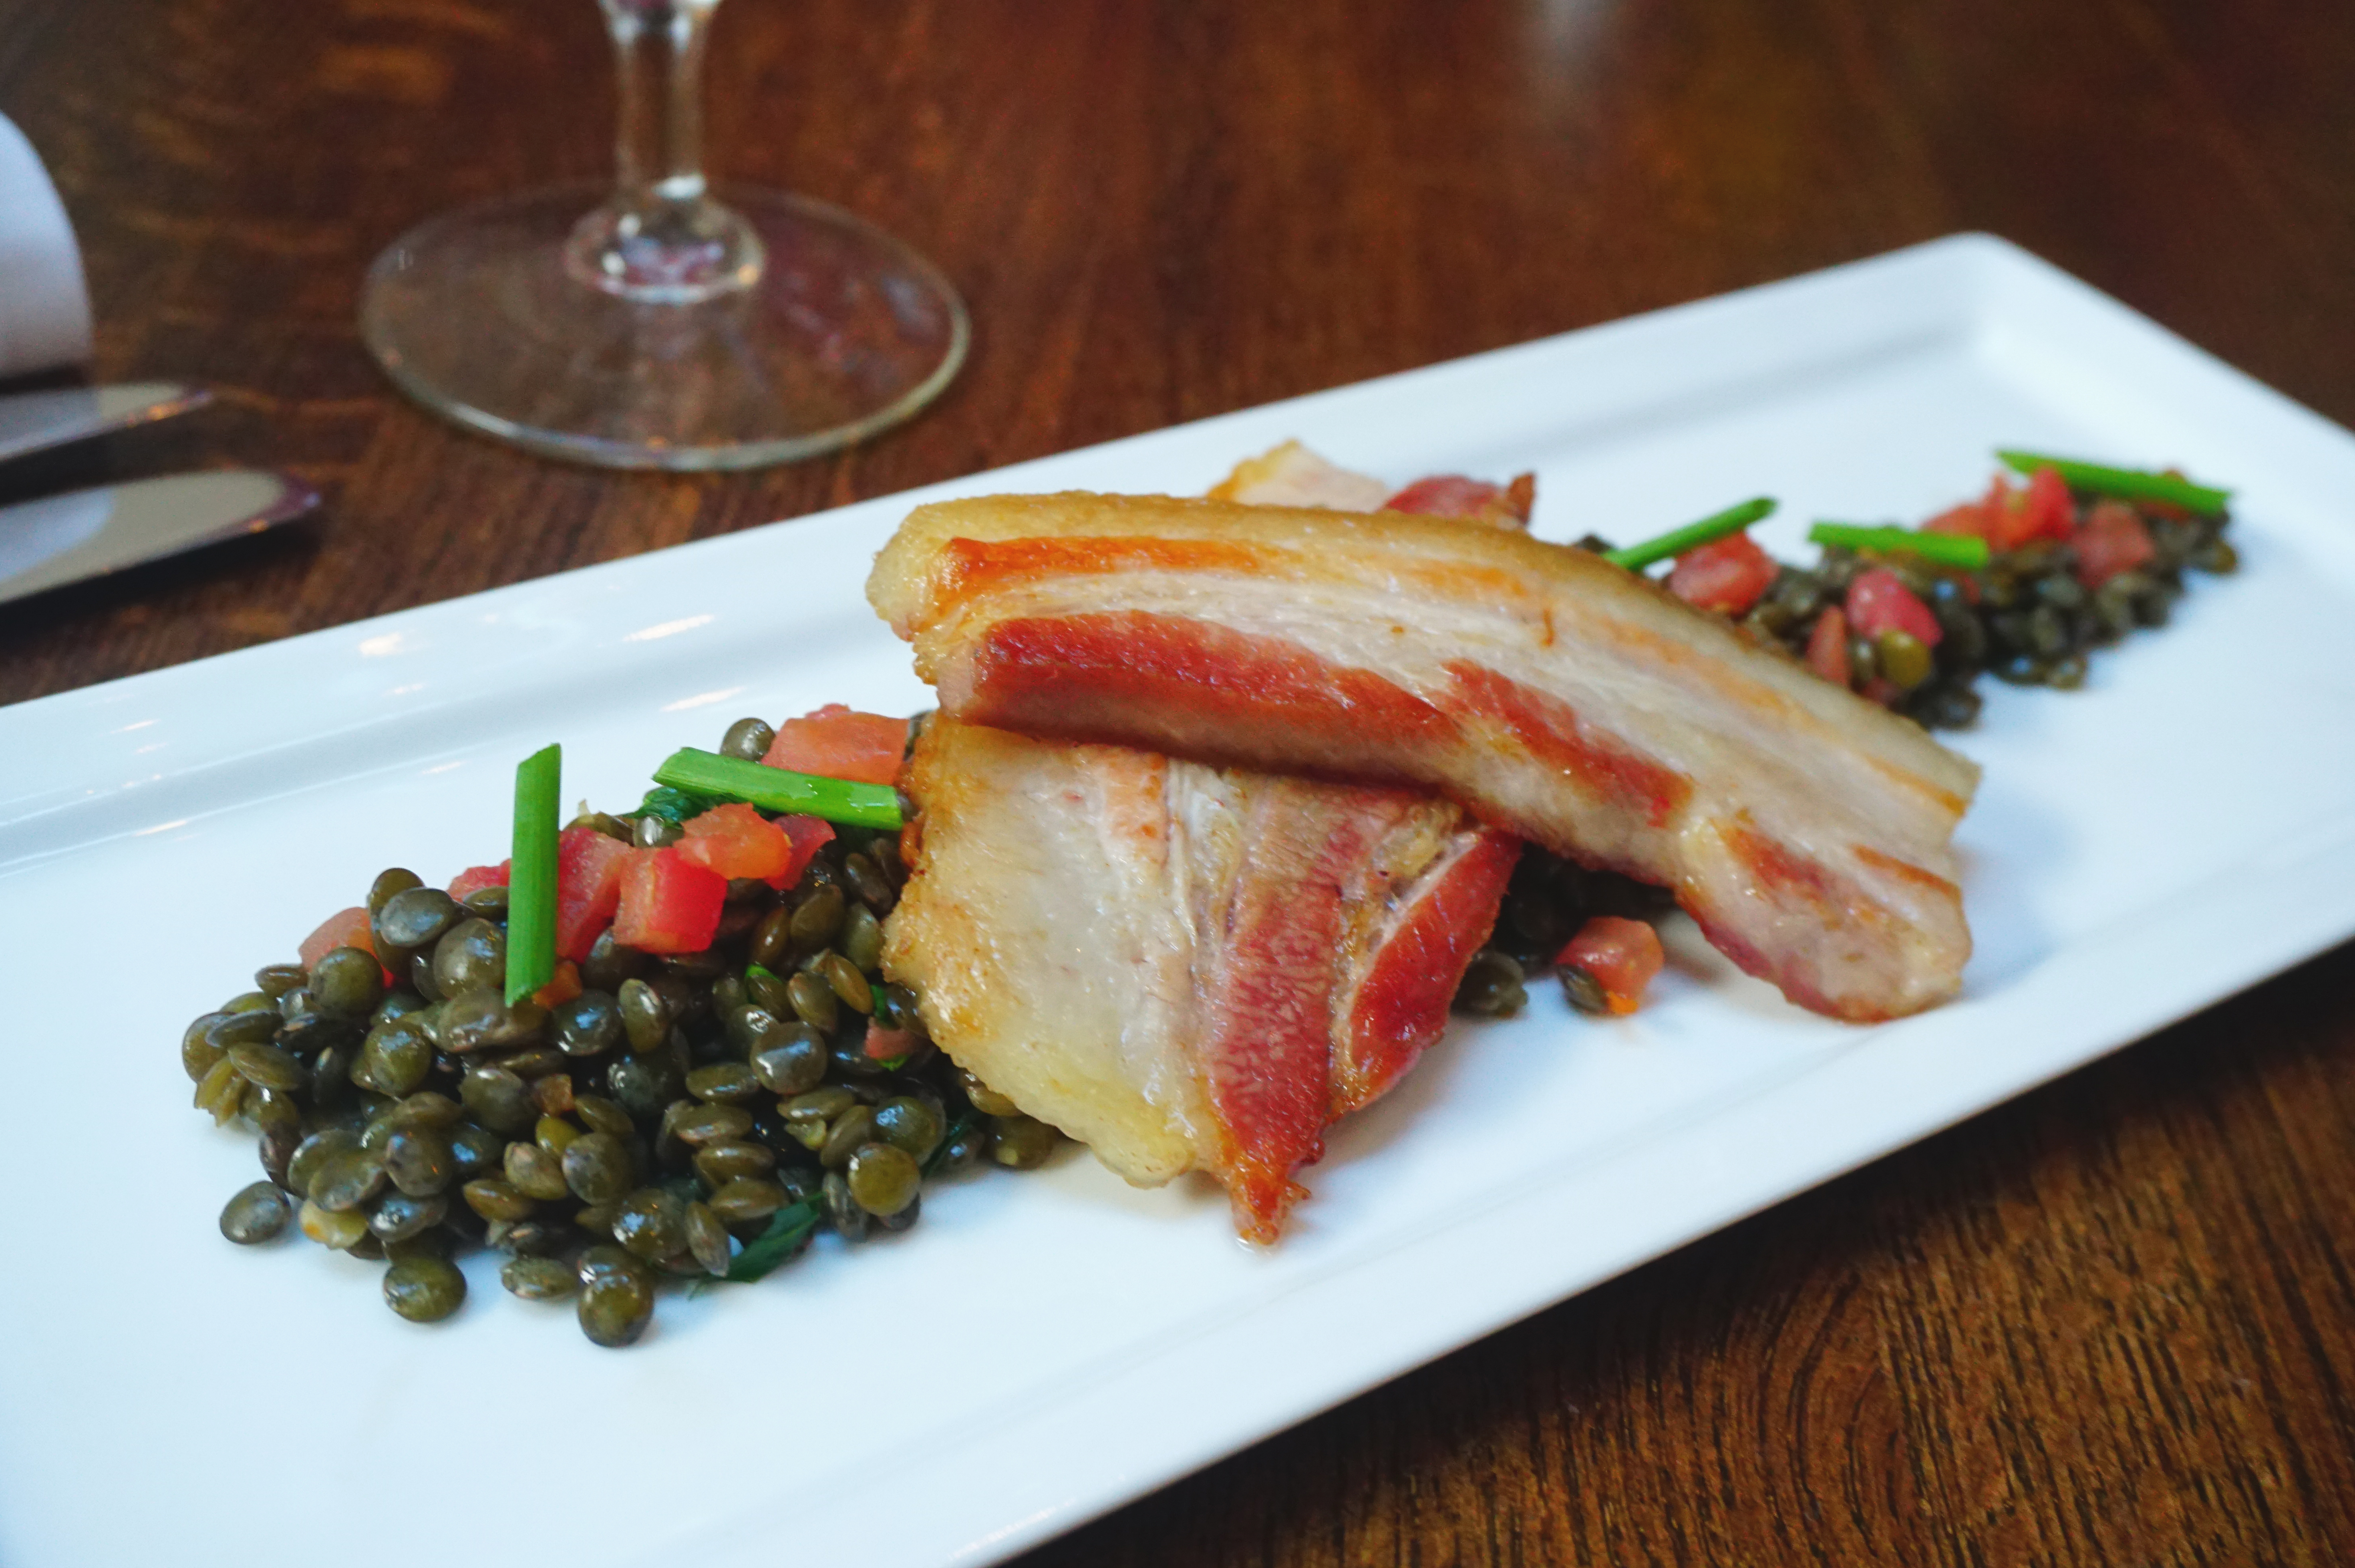
Petit Salé aux Lentilles: Salted Pork, Le Puy Lentils
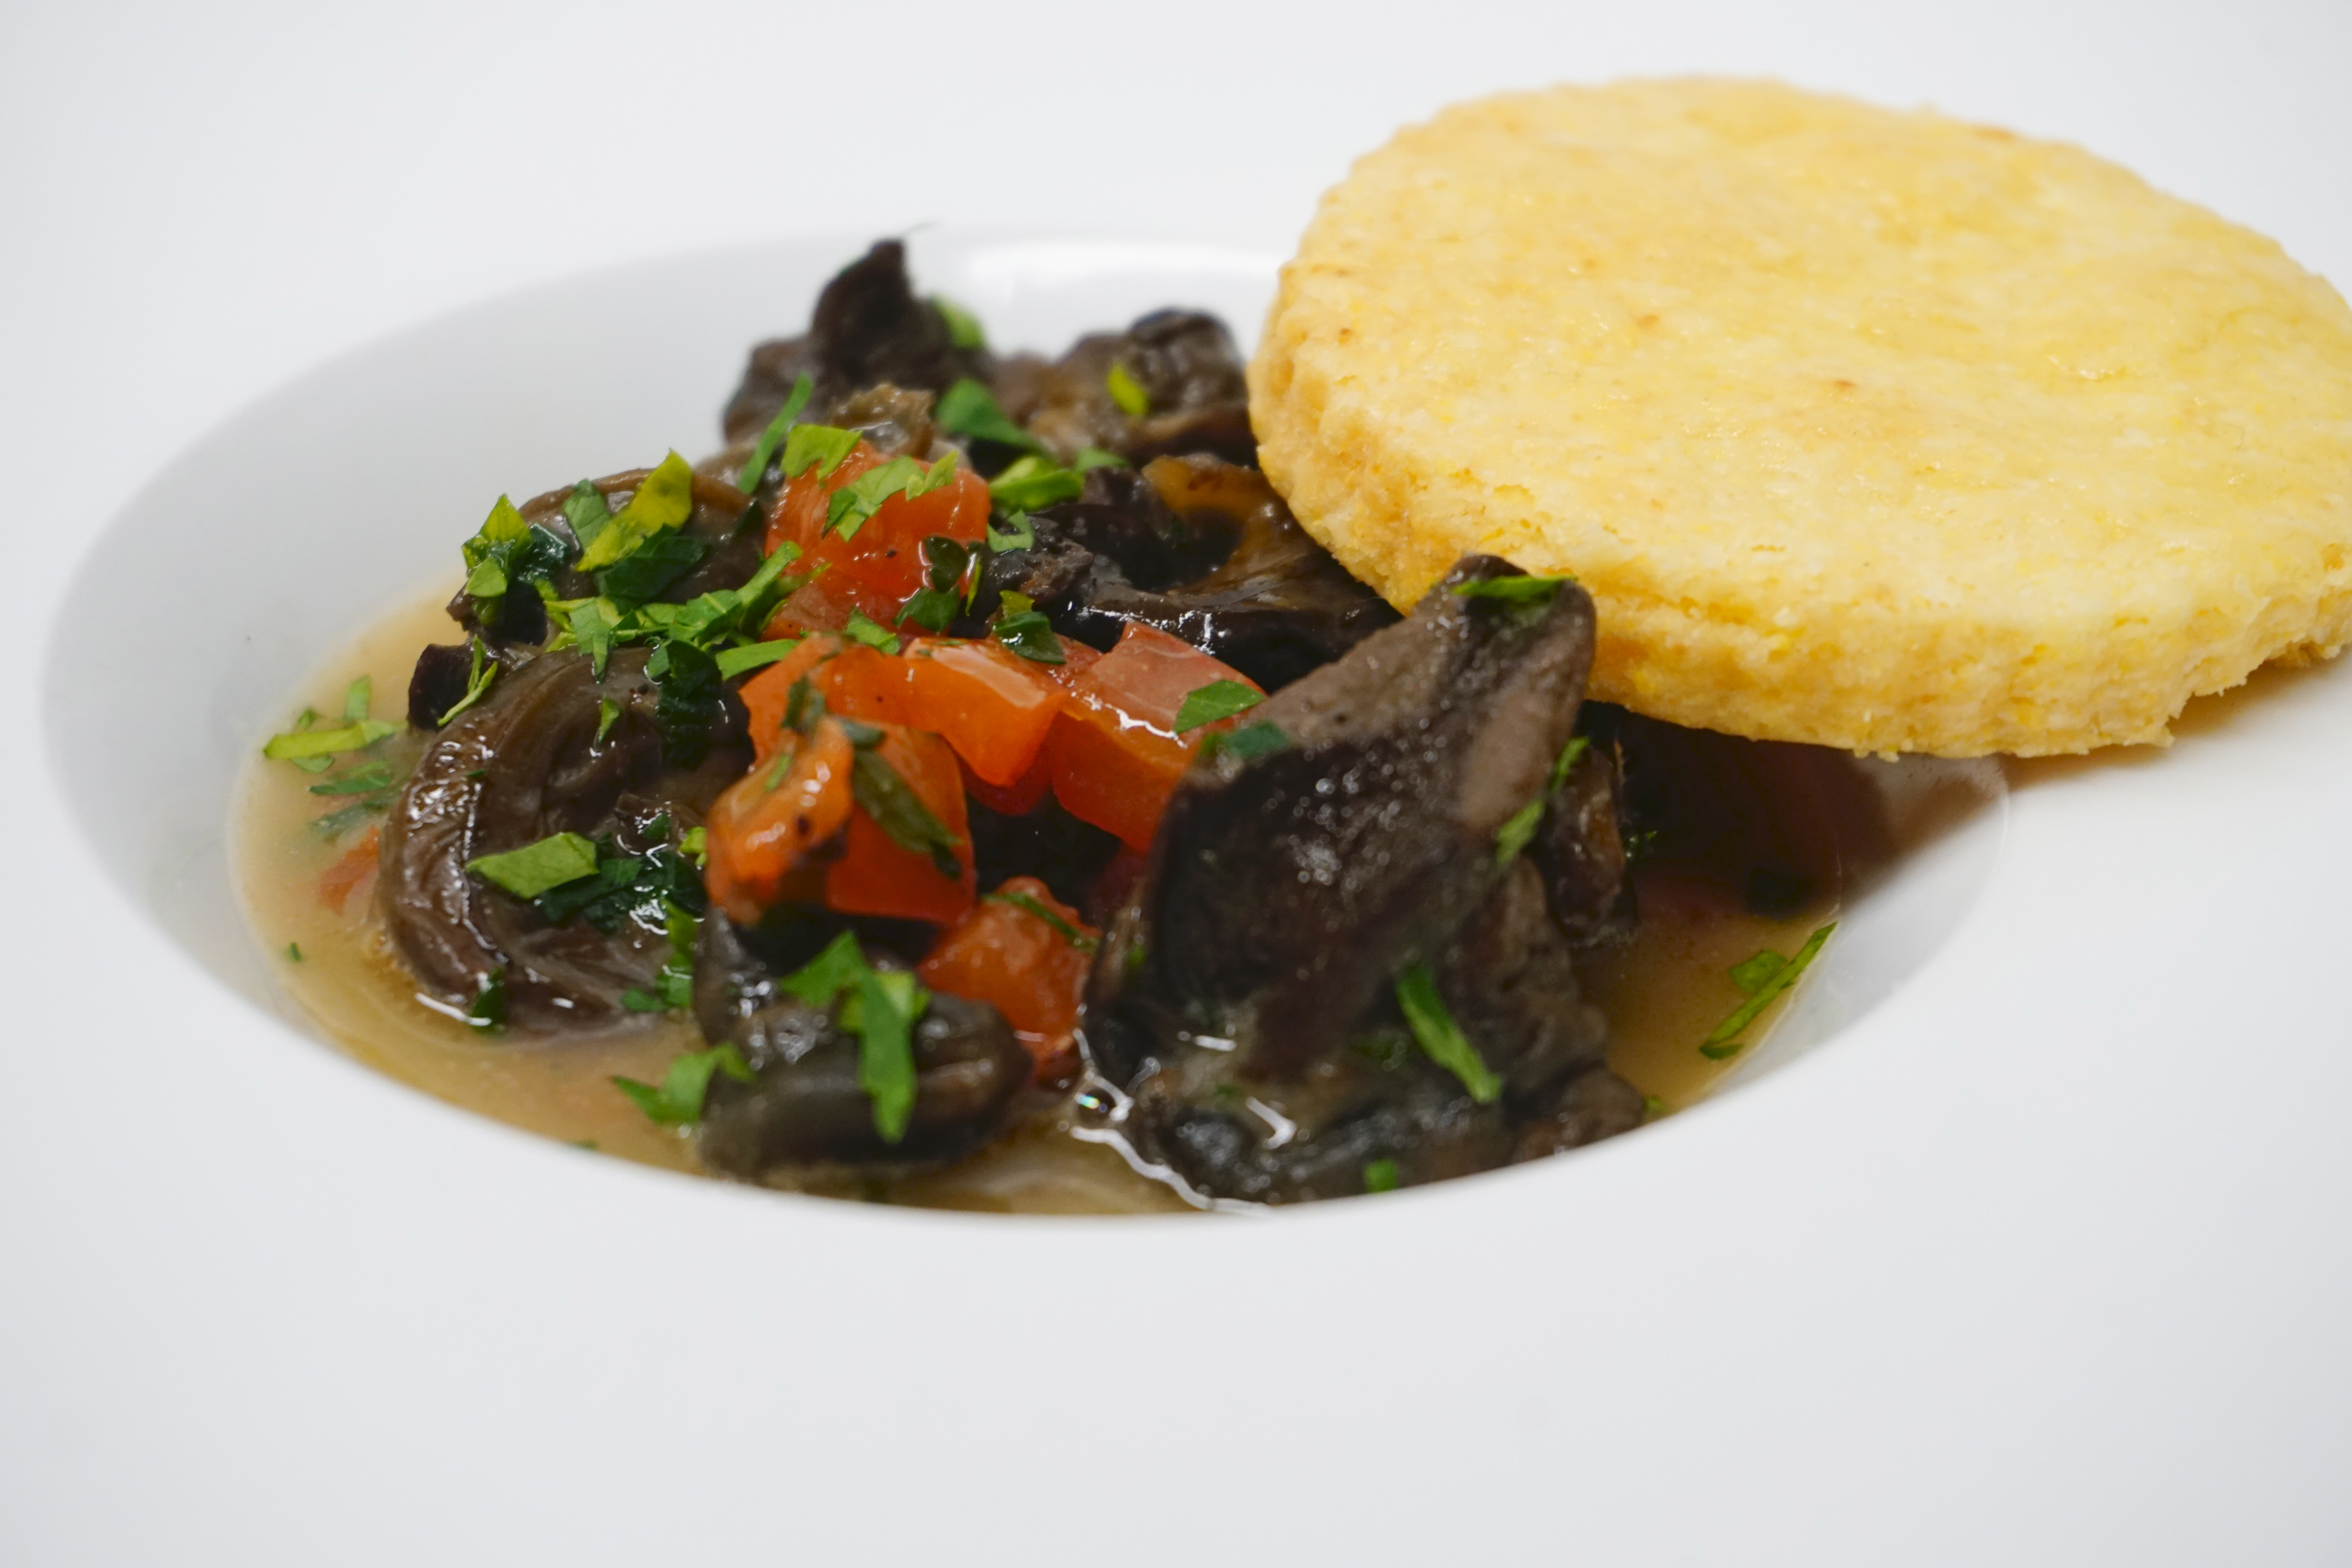
Escargots en Croute: Cornmeal Sable
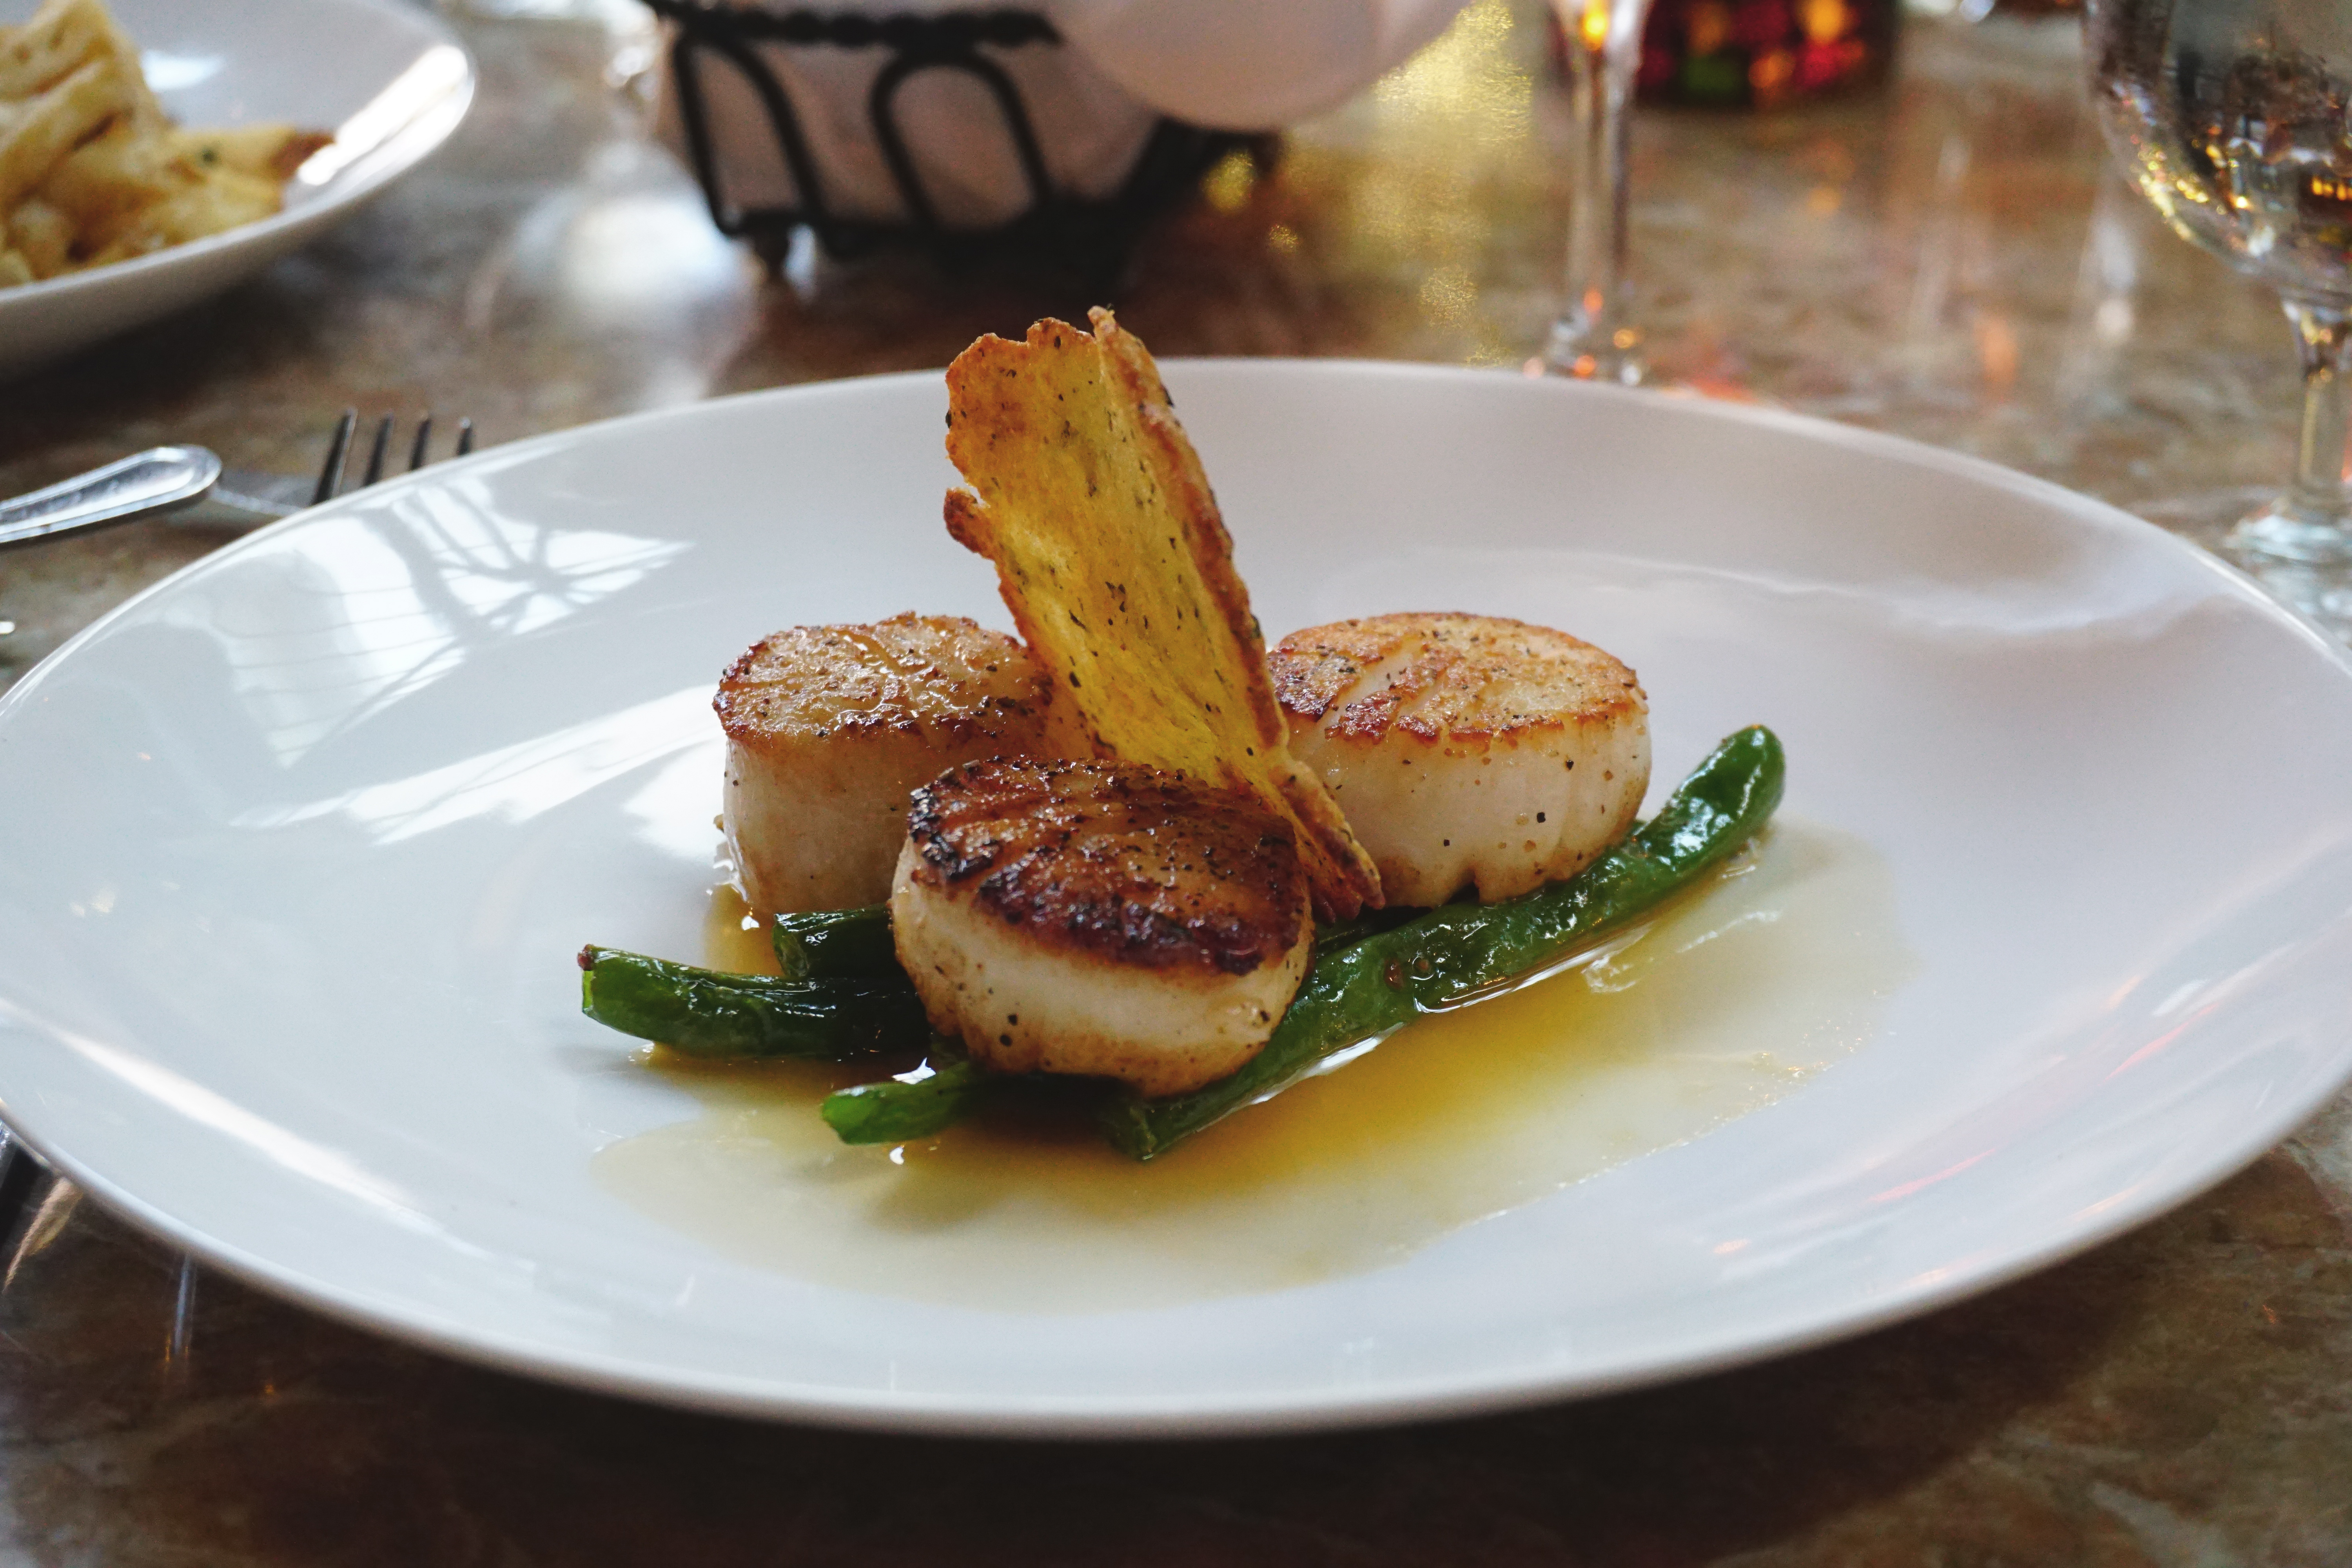
Coquilles St. Jacques: Polenta, Bouillon de Saffron
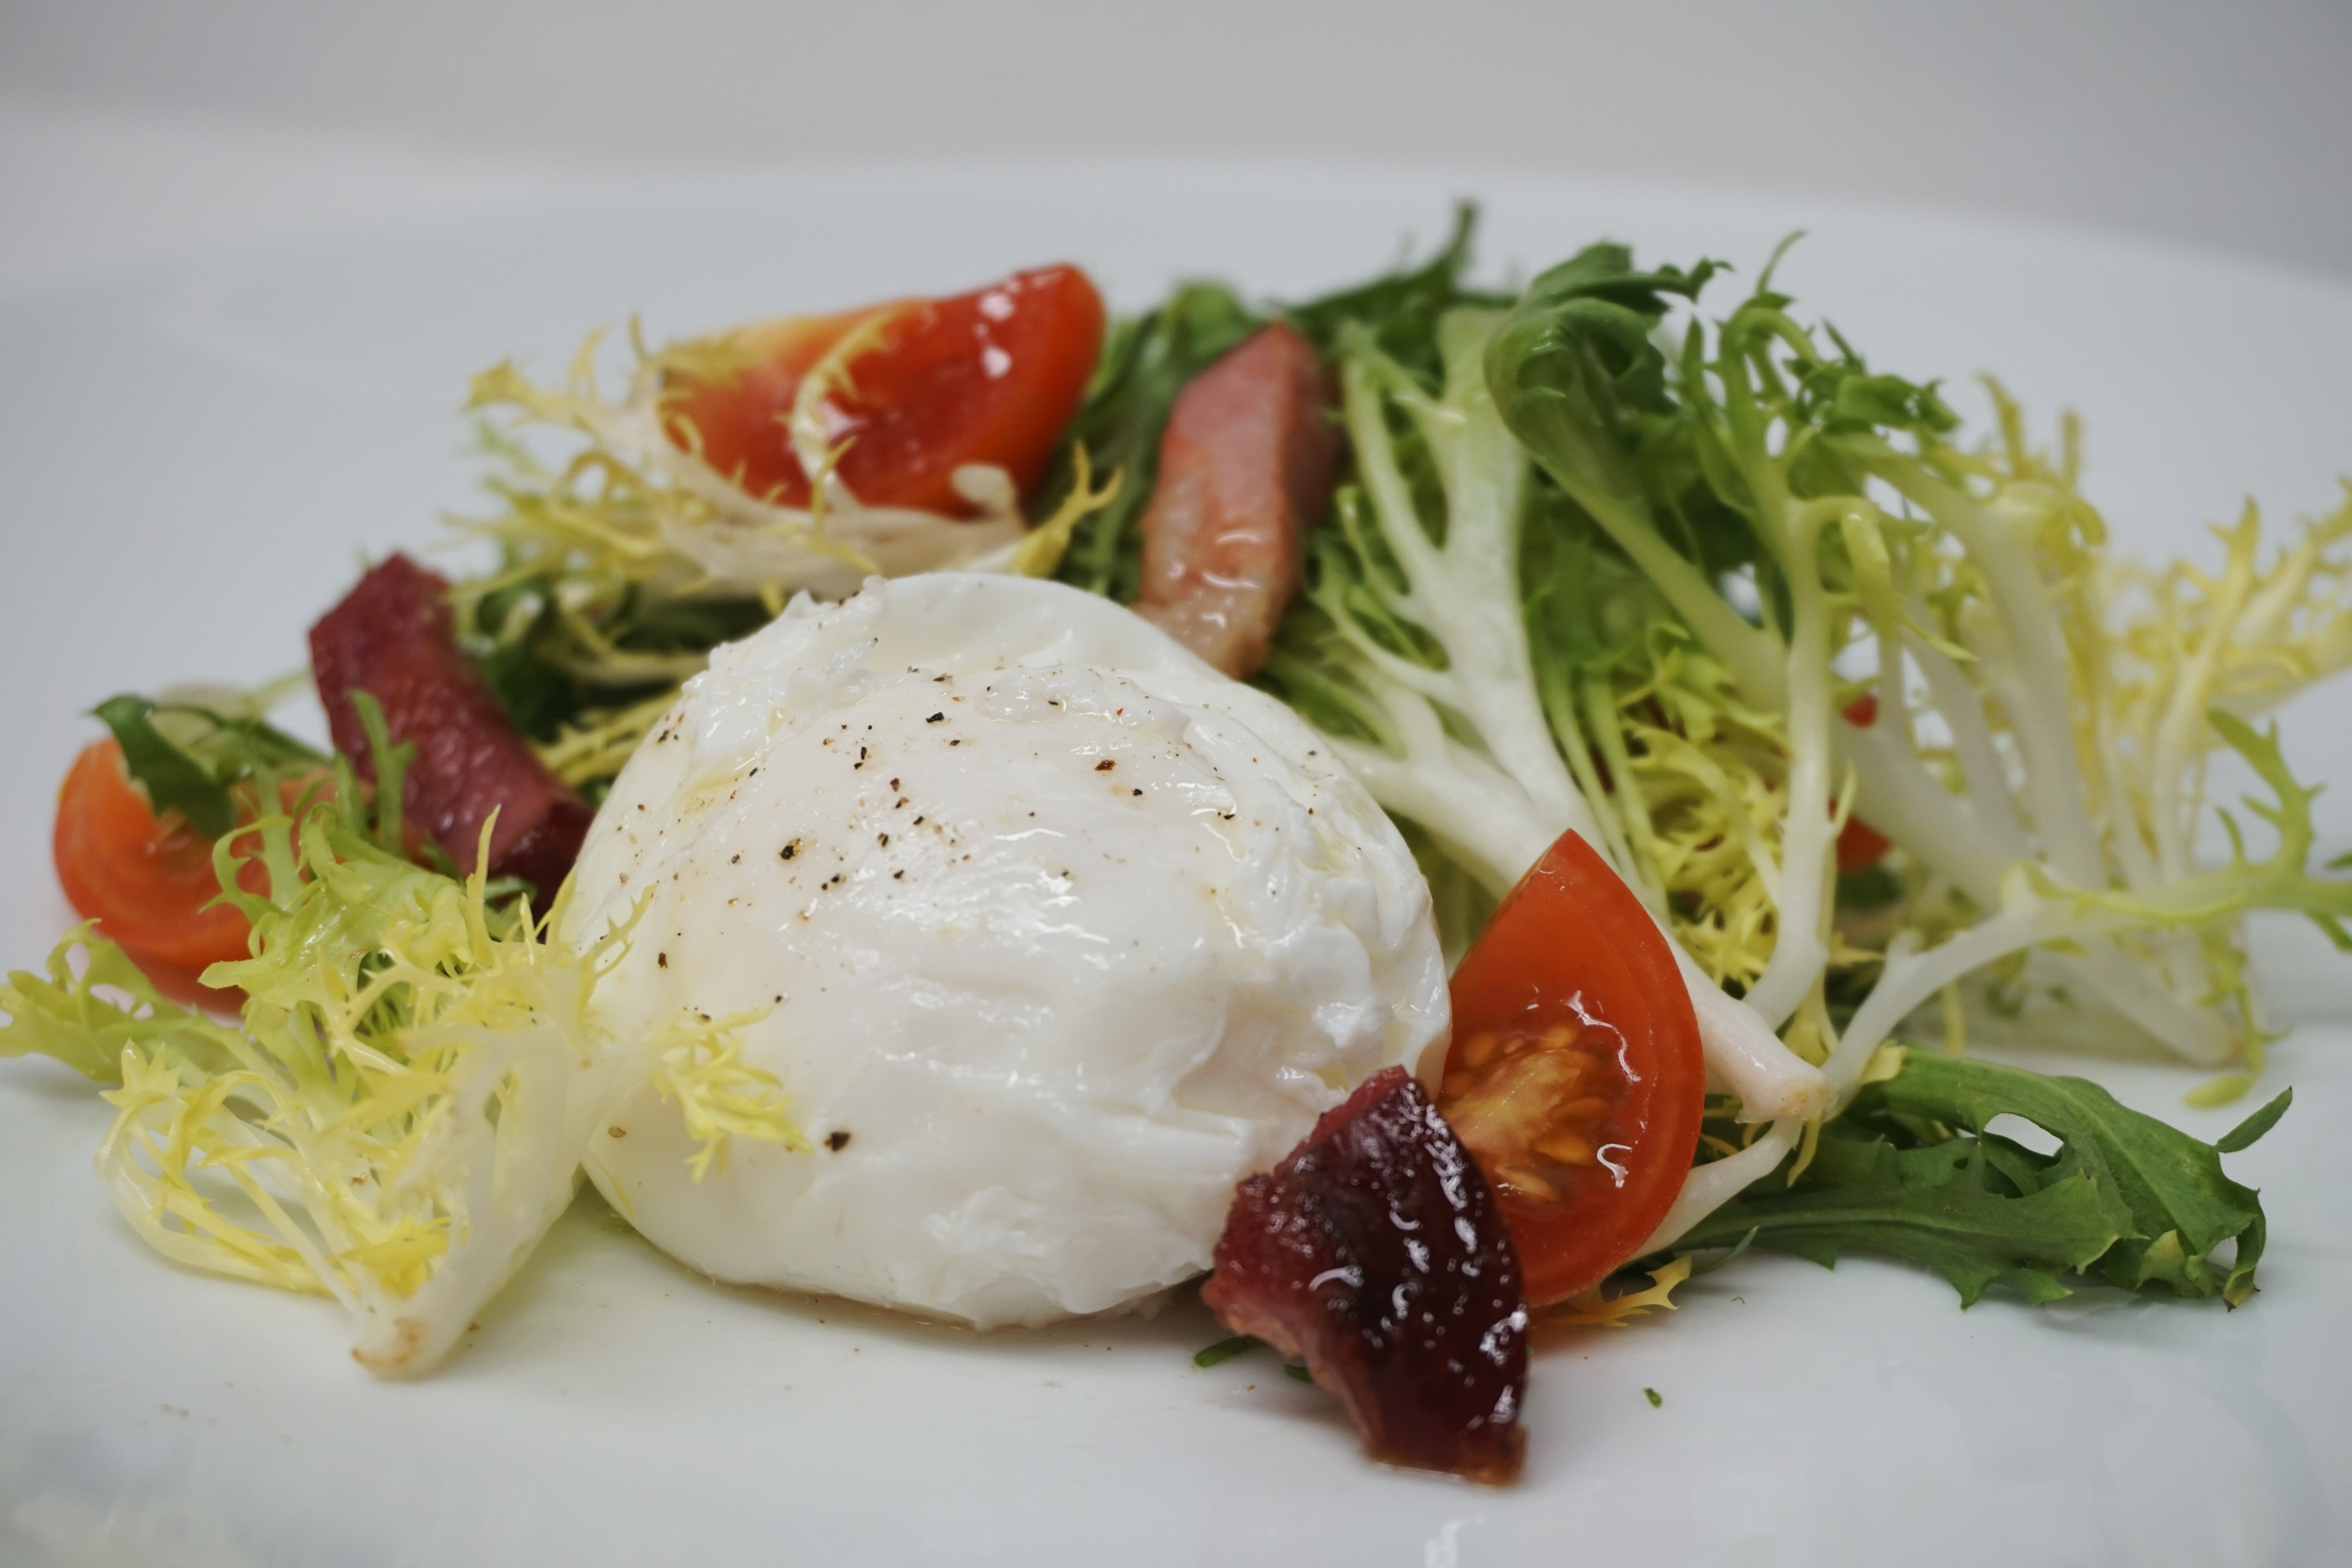
Salade Lyonnaise: Frisée, Lardons, Poached Egg
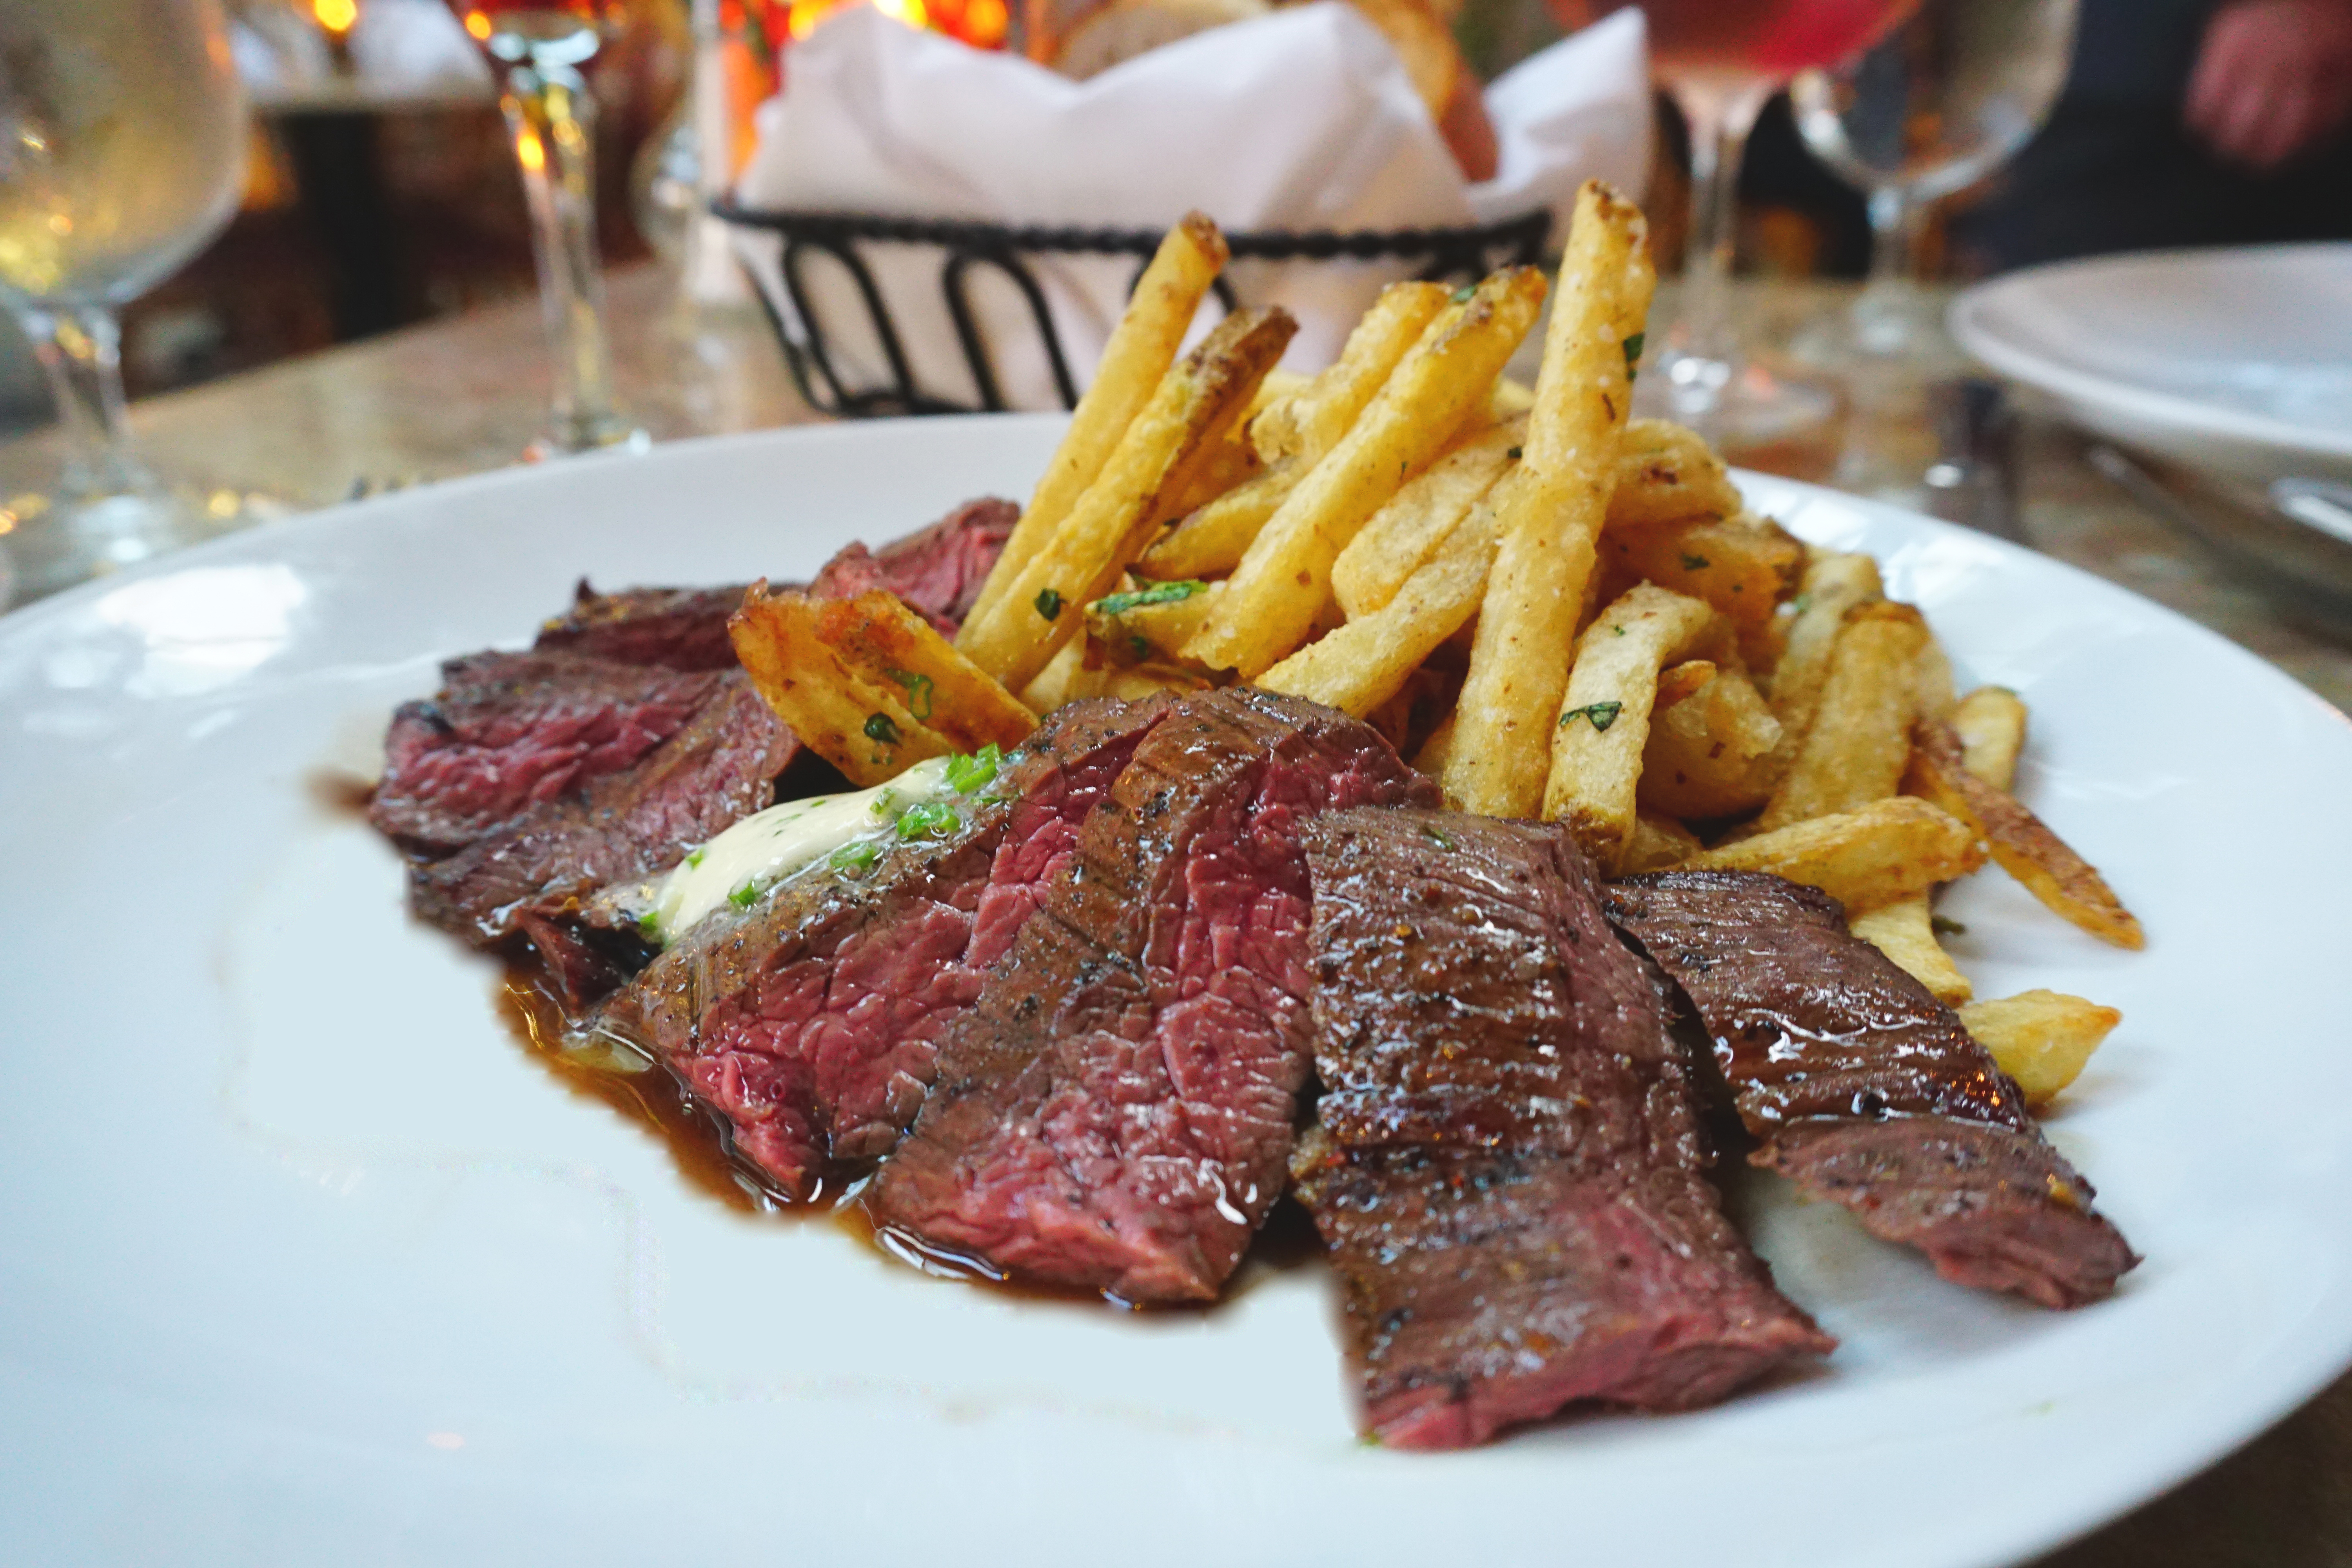
Steak Frites: Red Wine Jus
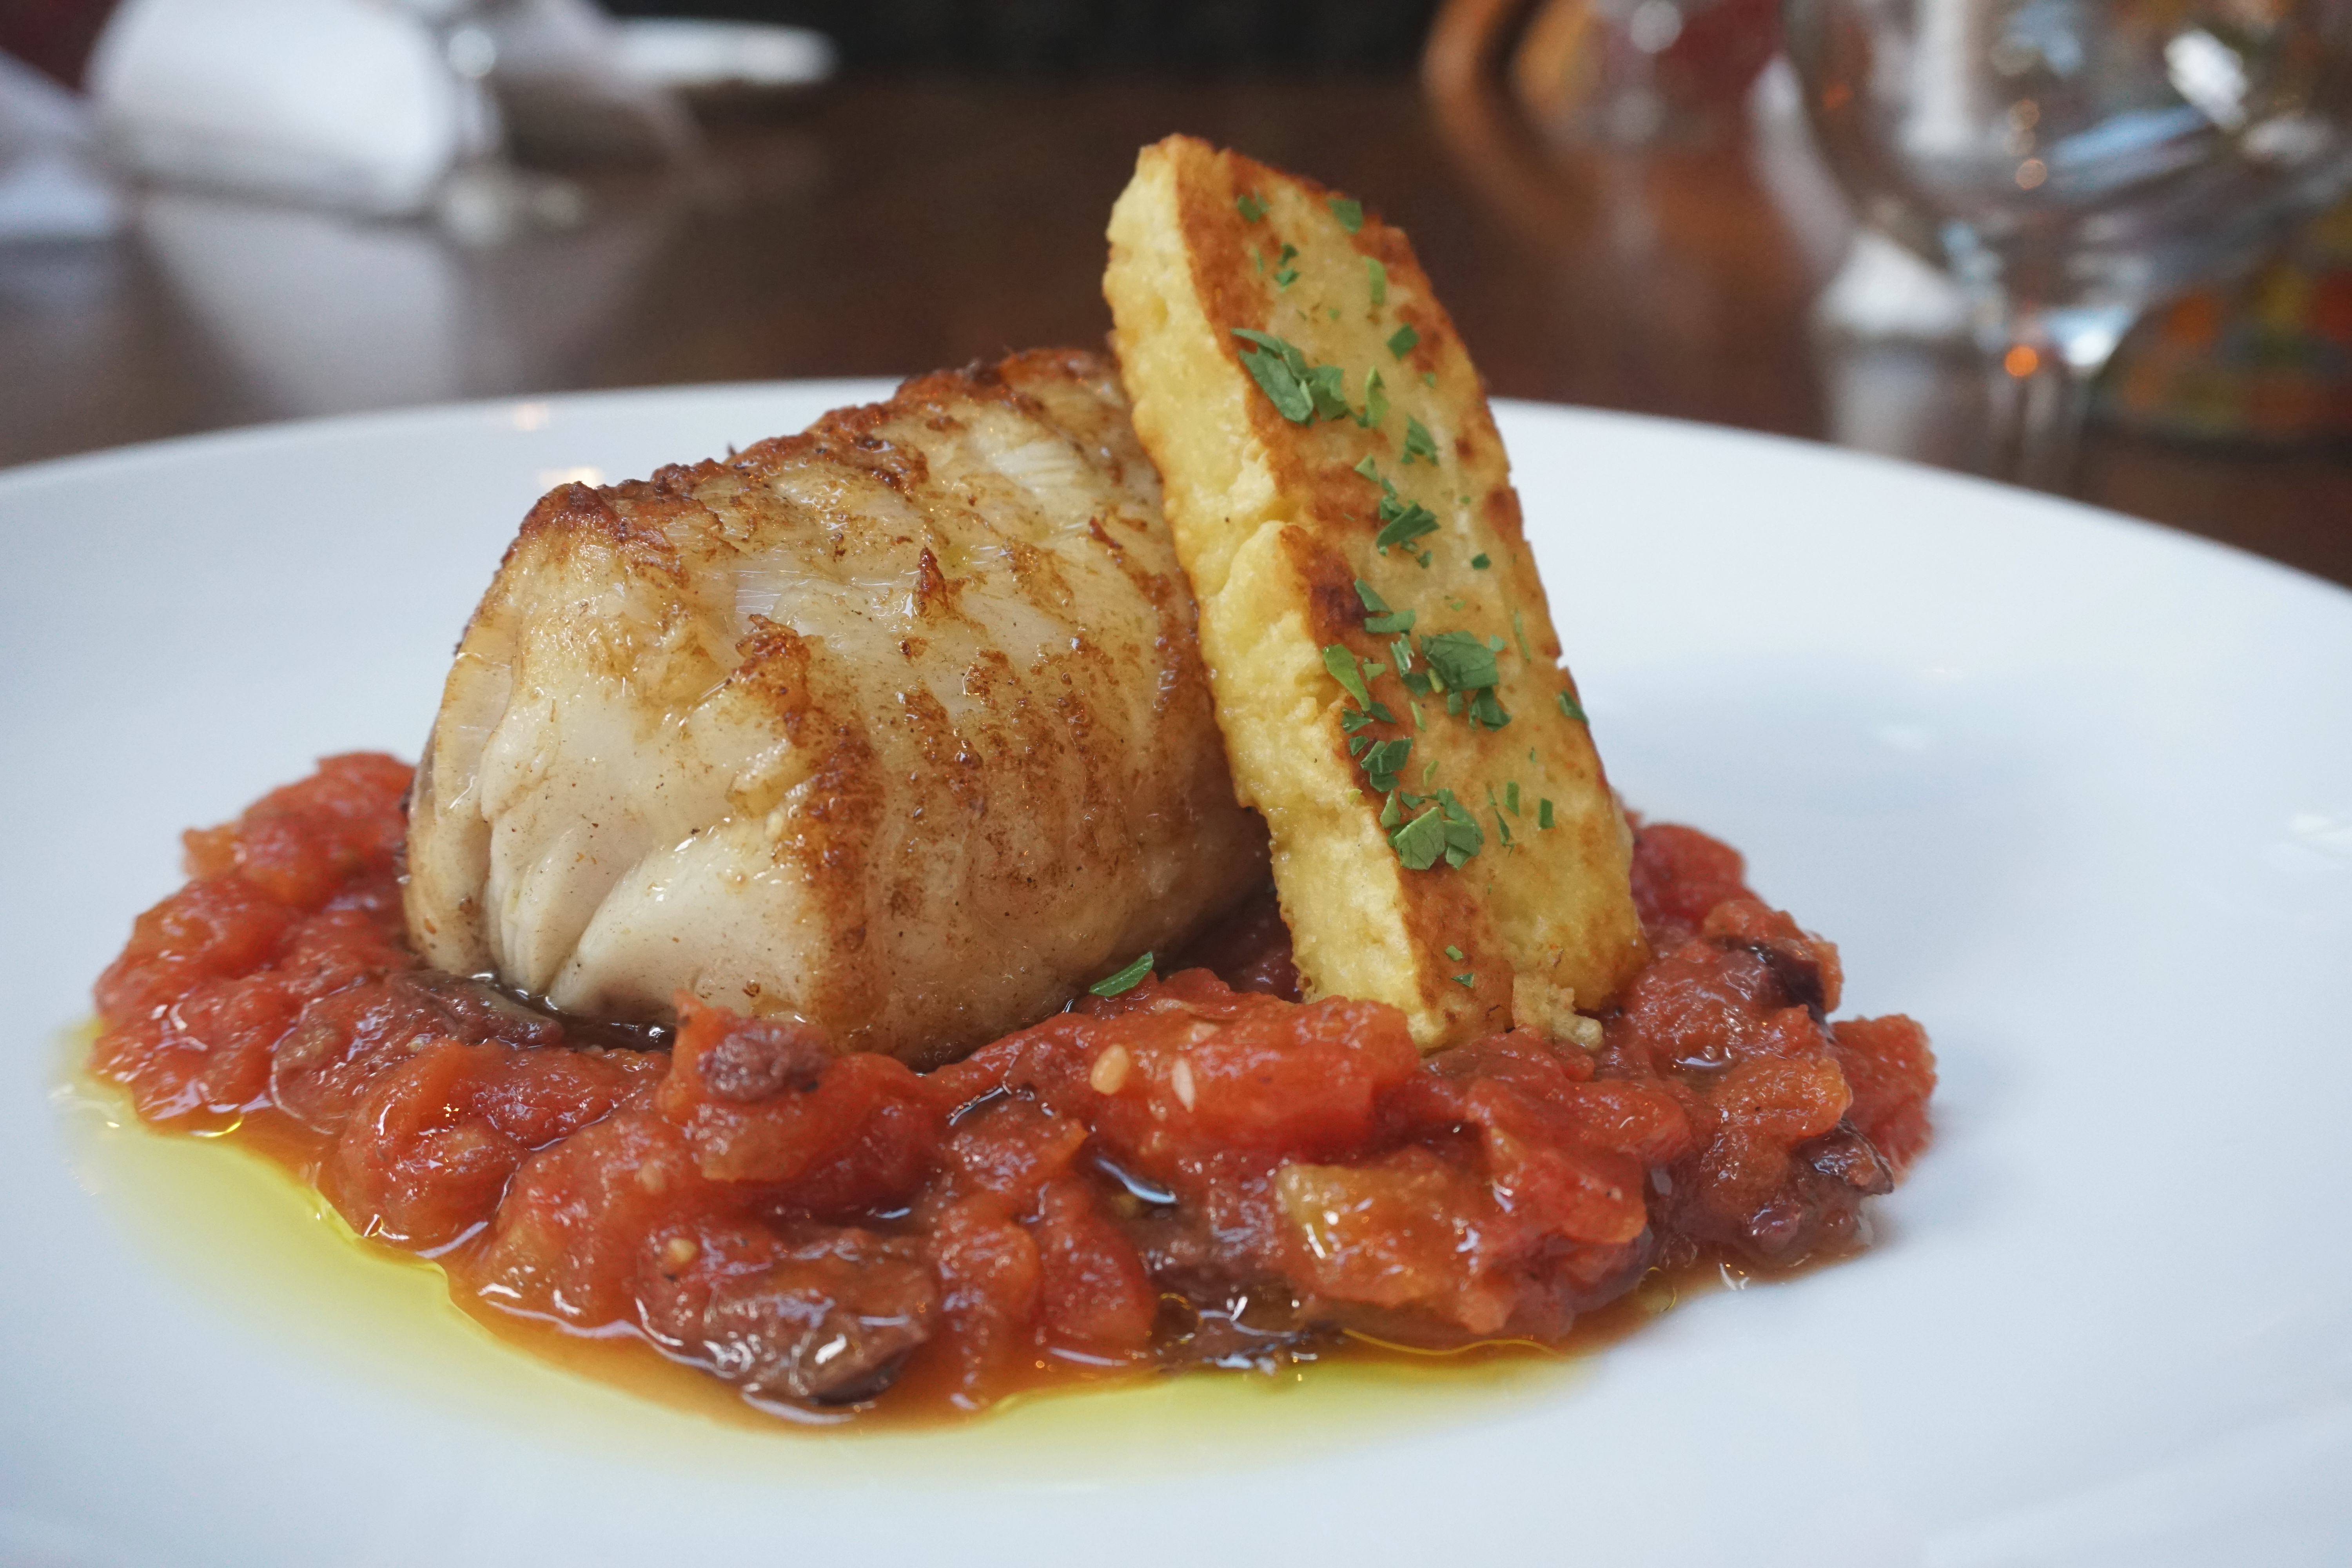
Filet de Lotte à la Provençal: Pan Roasted Monkfish, Tomato, Olives
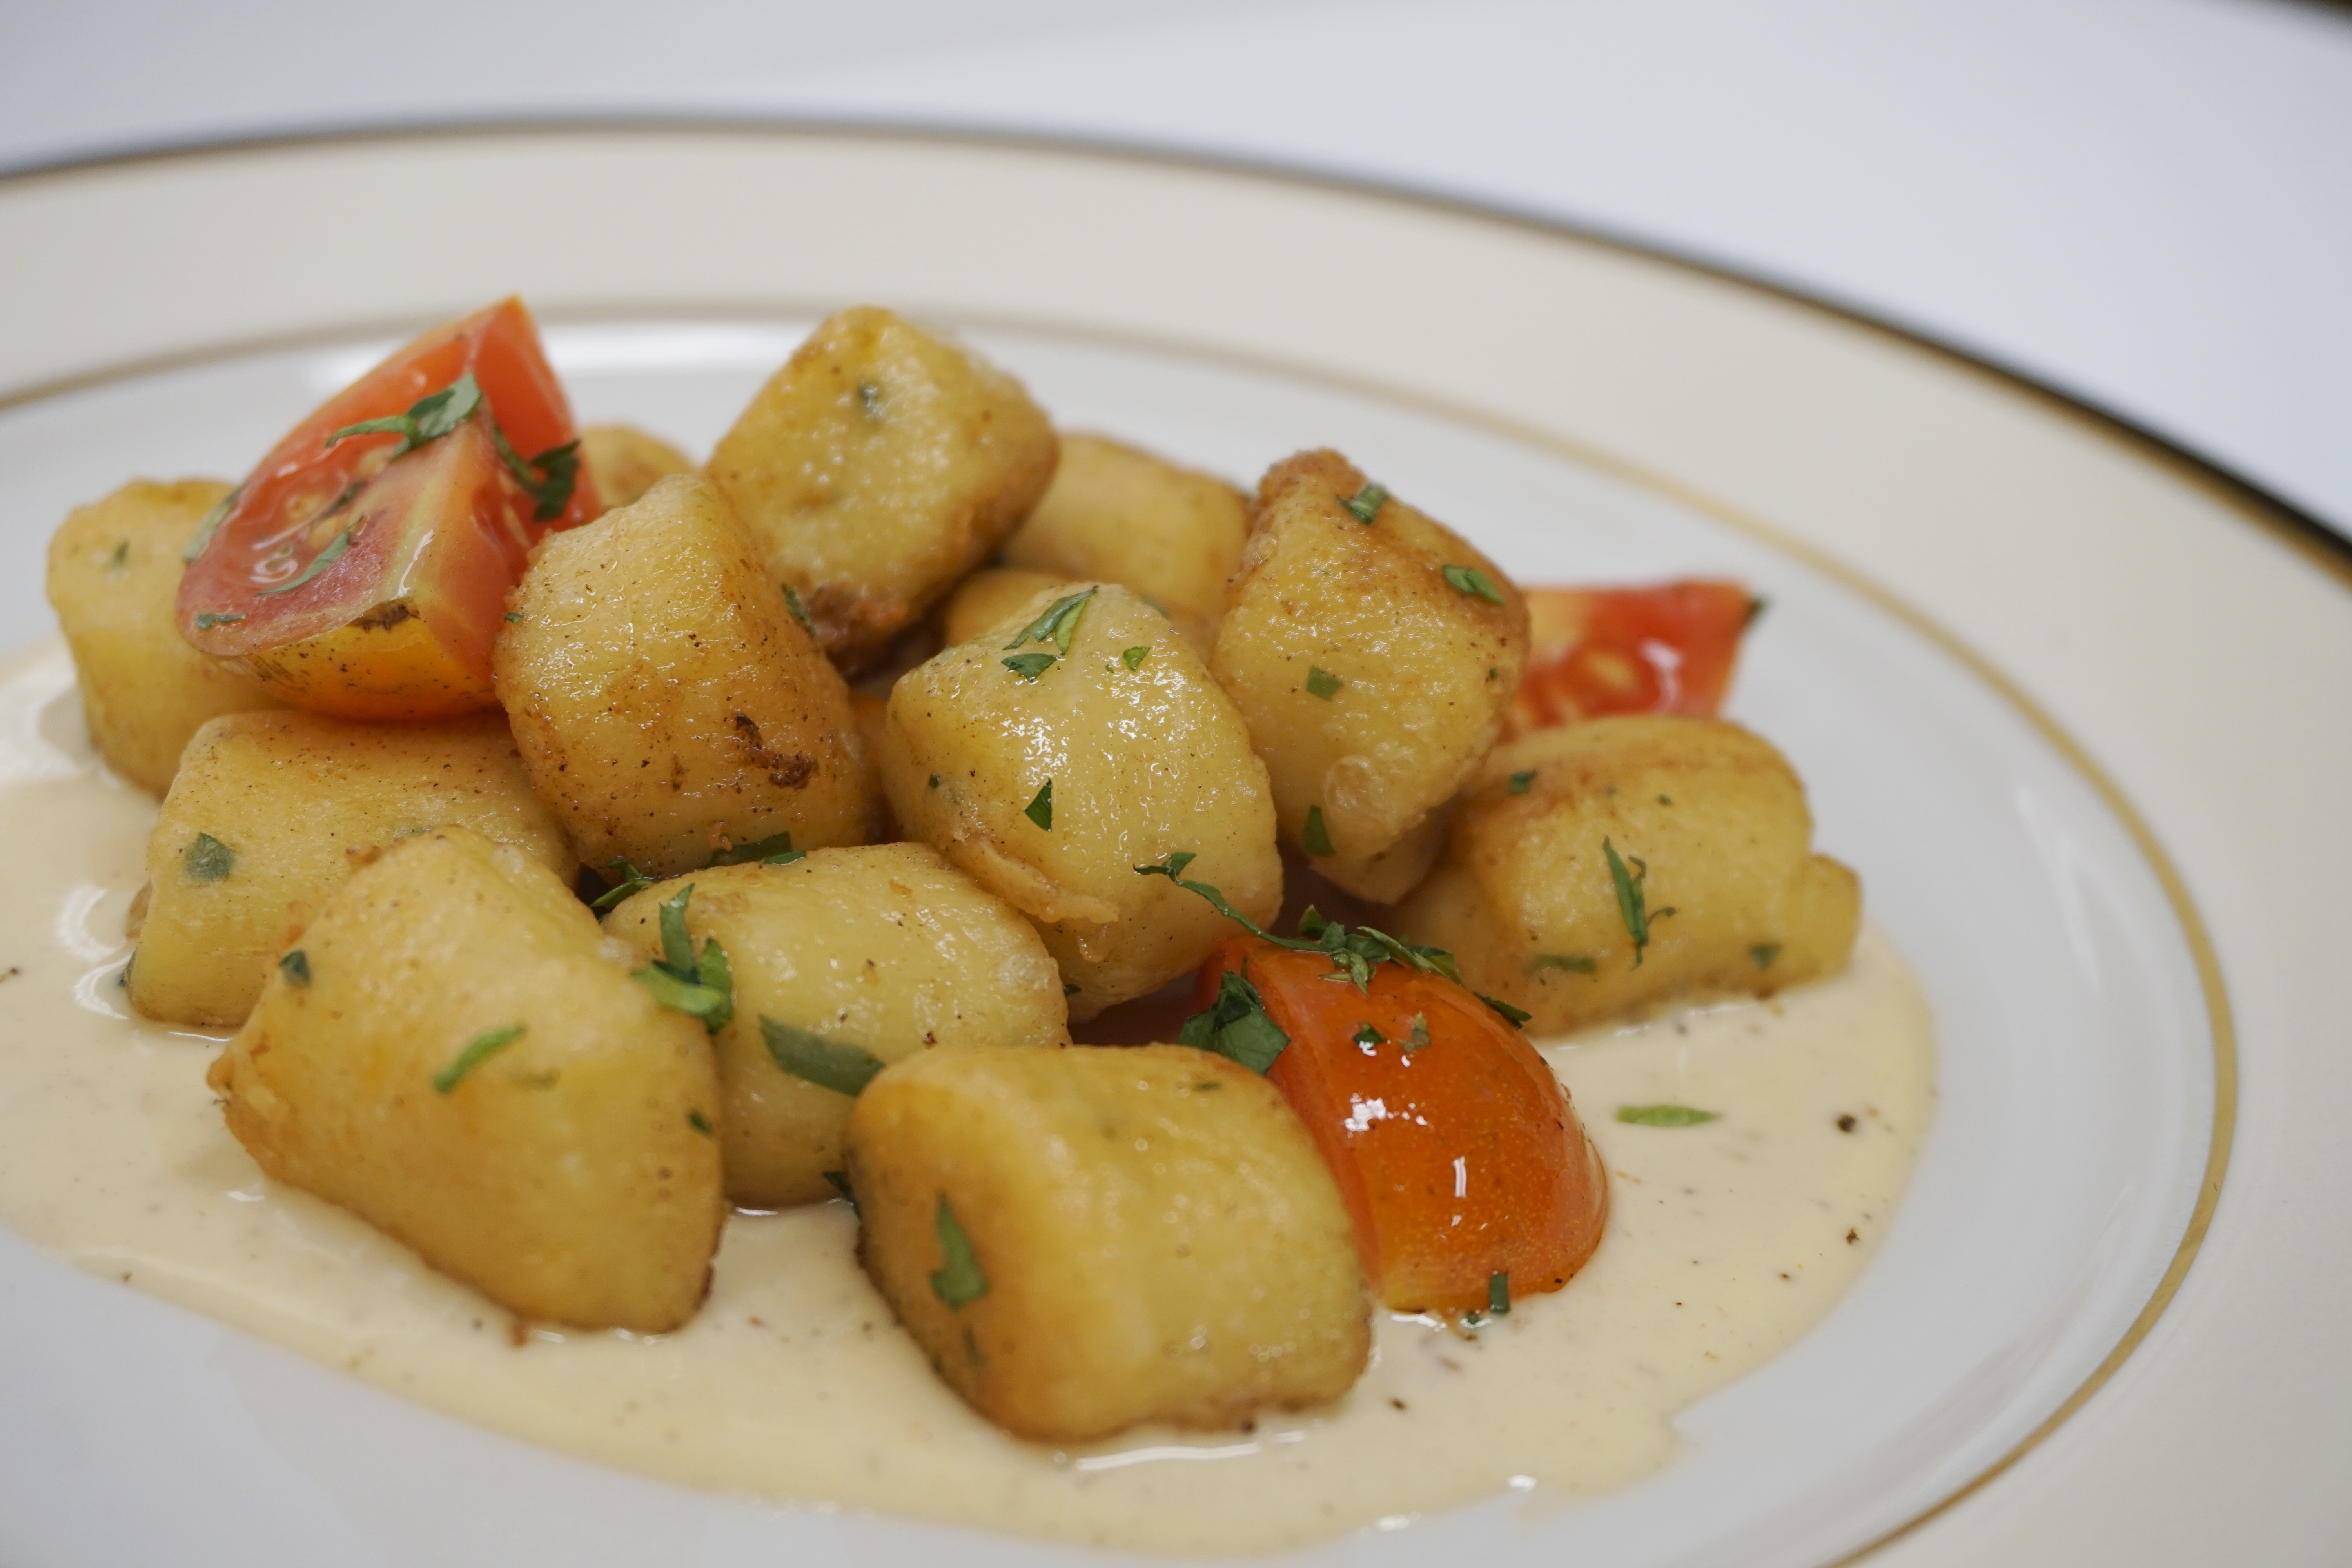
Parisienne Gnocchi: Parsnips, Fine Herbs
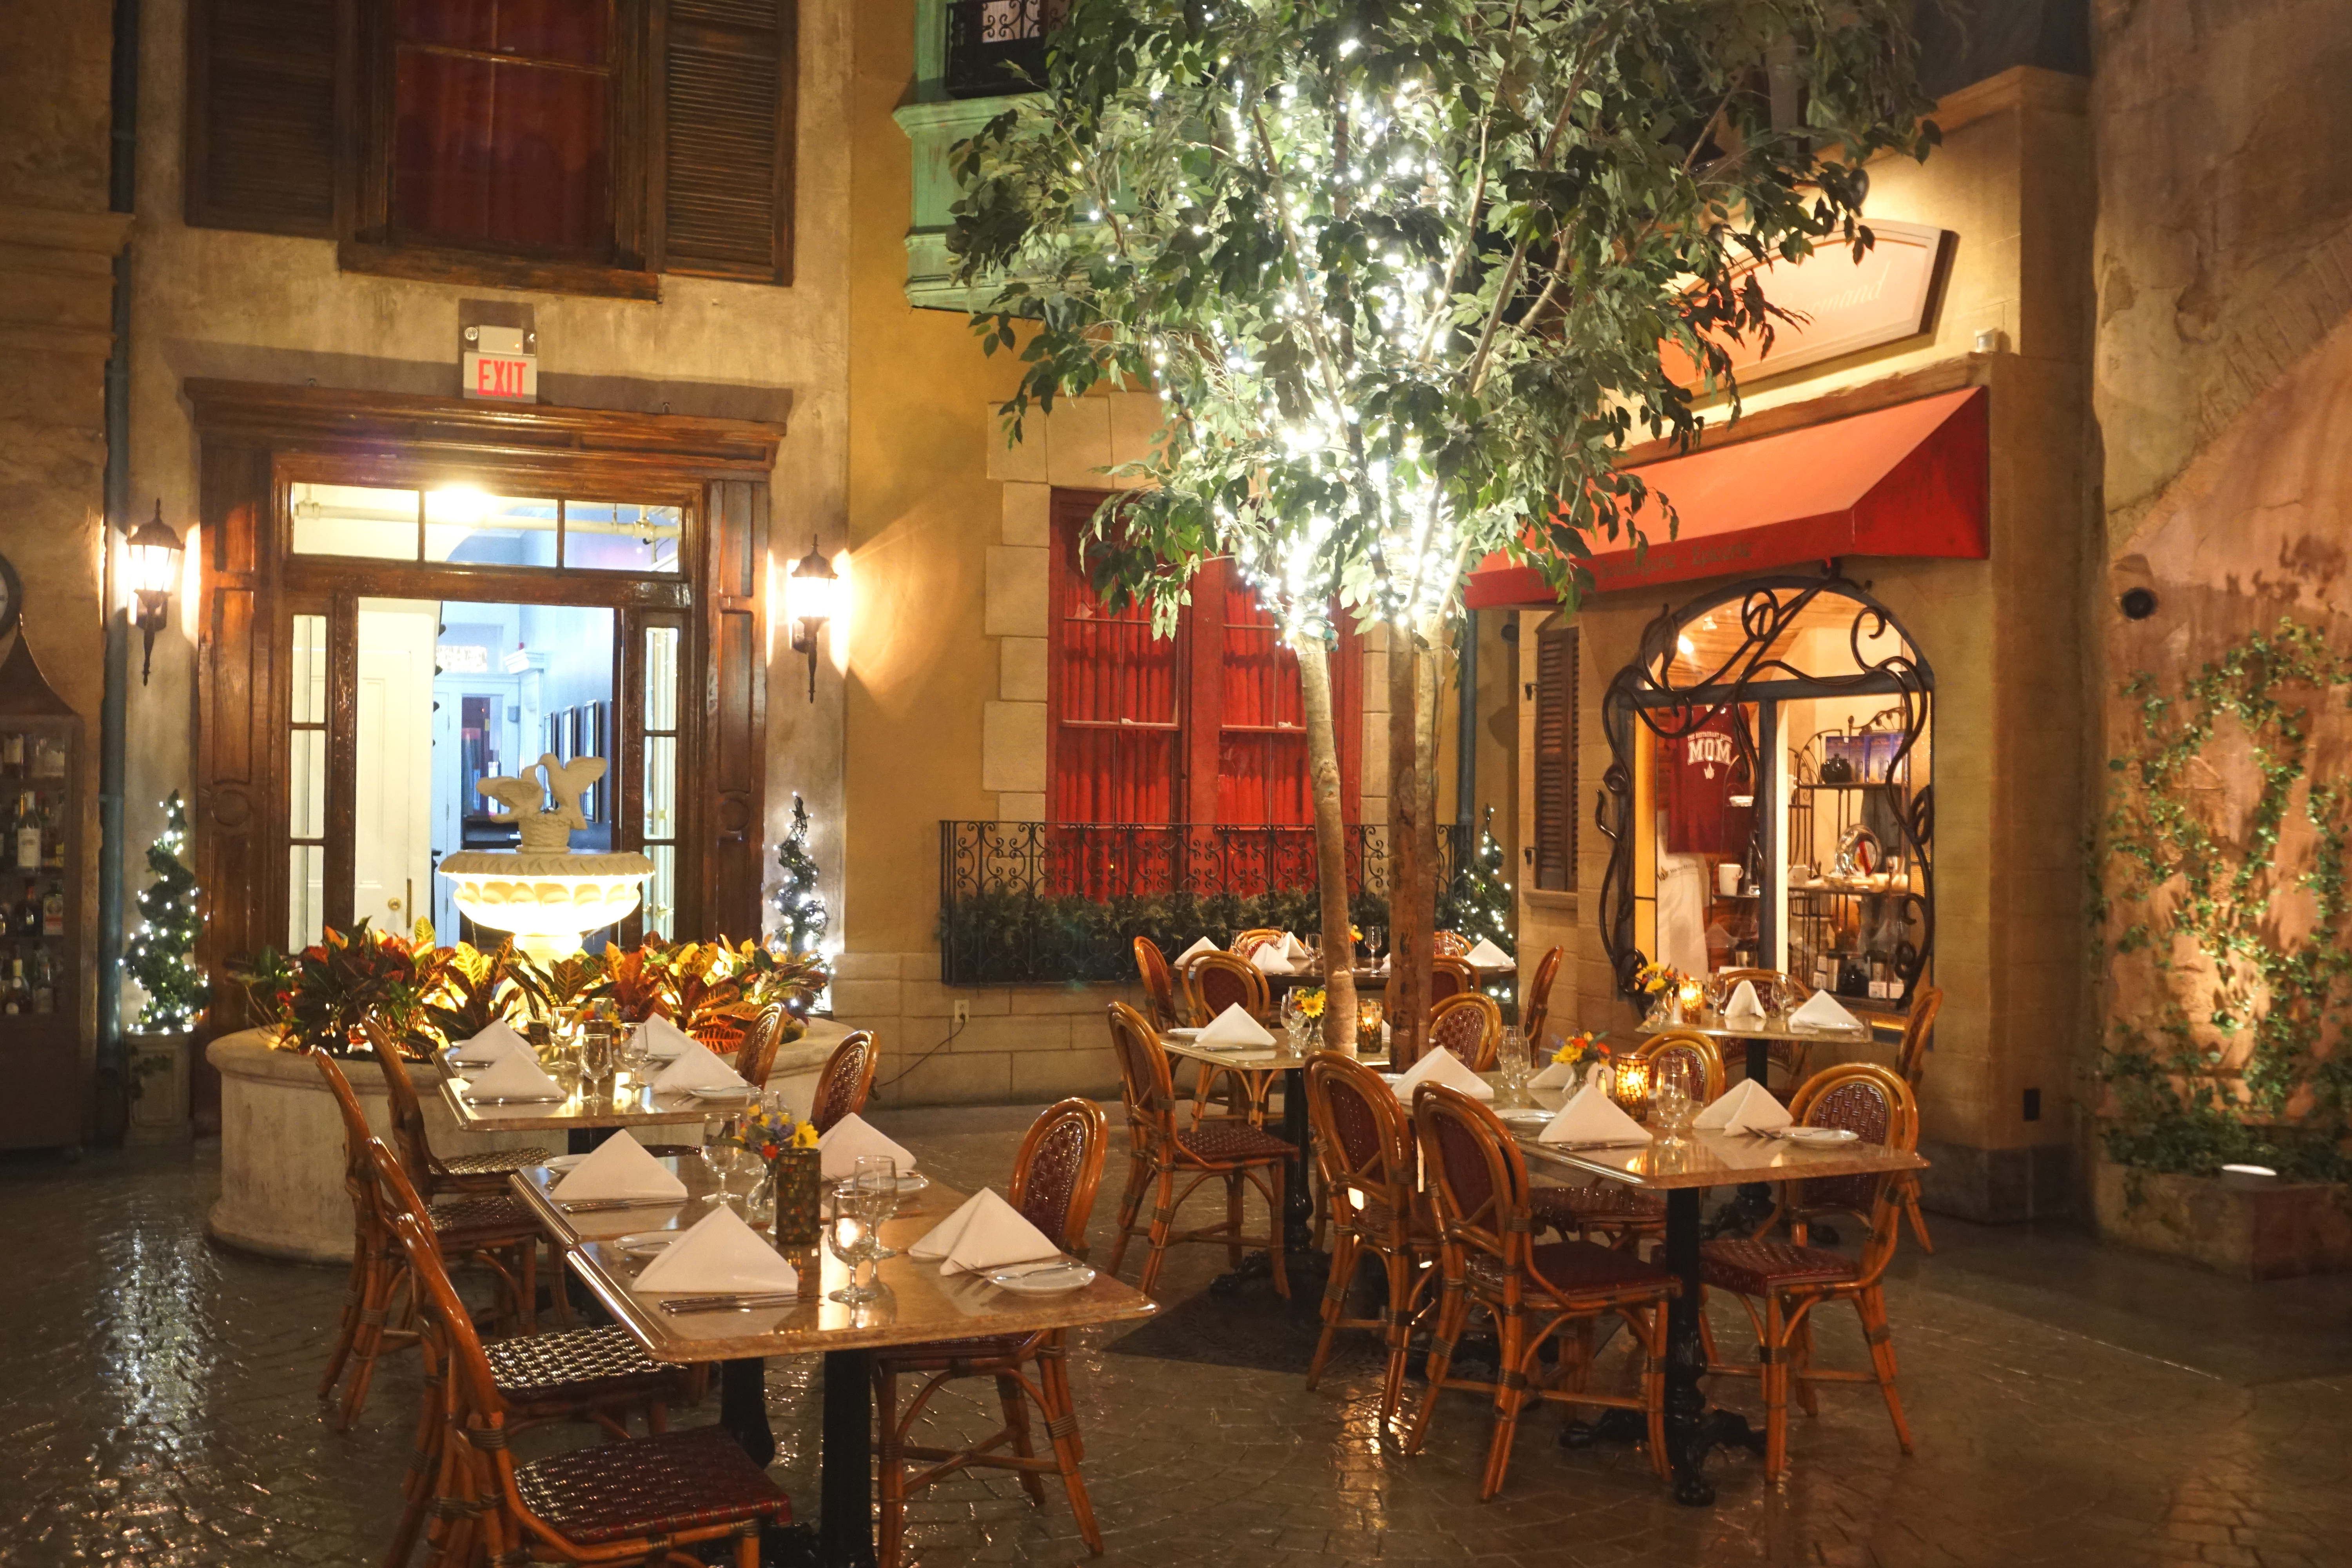
Bistro Perrier at night
After the workshop, Chef Perrier sat down with the team at Walnut Hill College to talk about Bistro Perrier, his life after a near-death experience, and the next generation of chefs.
It’s been a little over six years since you left Le Bec-Fin, your renowned restaurant, and now here we are preparing for the opening of a restaurant that has been named in your honor. What does Bistro Perrier mean to you?
Well, you know, I’ll tell you something. When you’re recognized by your peers, there is nothing better in life. Customers are nice, but your peers, if they recognize you, the chefs…my people, that’s very special to me.
And now you’re getting to work alongside your peers today.
You know, I always say in life, when you teach what you know to other people, it’s wonderful. That’s the way I learned. And that’s the way they learned, because what I did today, they will remember that the rest of their lives, and they will use it and do it. Simple as that. Cooking ain’t complicated. We [chefs] make it complicated, but it’s not complicated.
So earlier this year, you had a pretty serious health scare. What’s it like being back in the kitchen doing what you love?
You know…I almost died. As a matter of fact, I got sick. I was dead. And when I was lying down on the floor, I said nobody’s gonna help me, I’m gonna die right now. I saw death. And then finally, somebody came and gave me bouche a bouche [mouth to mouth]. Oh man. Yeah, she saved my life. The doctor said if she would have not done that, I would have been dead. I was dead. Very, very lucky. I guess it was not my time.
Wow. And we’re grateful for that.
Yeah, I’m very grateful. You cannot take life for granted. Now, I see everything in a different view, eyes. I’m very senseful [sic] and very lucky. I’m a very lucky guy. I should not be here, you know, to have pleasure, what I have, you know, a lot of pleasure. I could be dead.
Now Chef, as Master-in-Residence, you’ll be helping to guide our students and teach them some of the skills you’ve learned over your long career. What advice would you give to somebody who’s just starting out on their culinary journey?
Don’t get frustrated.
Simple as that?
Don’t get frustrated. Learn patience. You know, cooking is not [learned] in one day. You gotta be patient. It comes every day. You know, even I’m 74 years old, and I’m still learning. I was somewhere…where was I? I was somewhere with a friend of mine, and I tasted something. I said, “What is this? Why is this so good? How did you do it?” I said, “You gotta give me the recipe.” The guy gave me the recipe. I didn’t think he would, but he gave it to me.
So one last question for you, Chef. Beyond Walnut Hill College, what’s next for you? What do you have going on?
This is my [last] stop. I’ll cook whatever they want me to do, but I will not do anything for anybody else, except Walnut Hill College.
You have a long history here at the college.
Yeah, and I like the people. I like the owner, Danny, and they respect me. Everybody’s nice. I can do my stuff. Nobody interferes. That’s what I like, and I like to come here. You know, it’s nice when you’re older to still be able to cook, cause it makes me feel good. I need it. I feel relaxed, and I’m glad. The [chefs today] were so excited. You could see they were happy to learn something. I felt that today. They were really excited. You know, that’s what counts.
Bistro Perrier opens to the public on Wednesday, September 5 at Walnut Hill College, located at 4207 Walnut Street. For more information, including the menu and reservations, visit BistroPerrier.com or call (267) 295-2302.
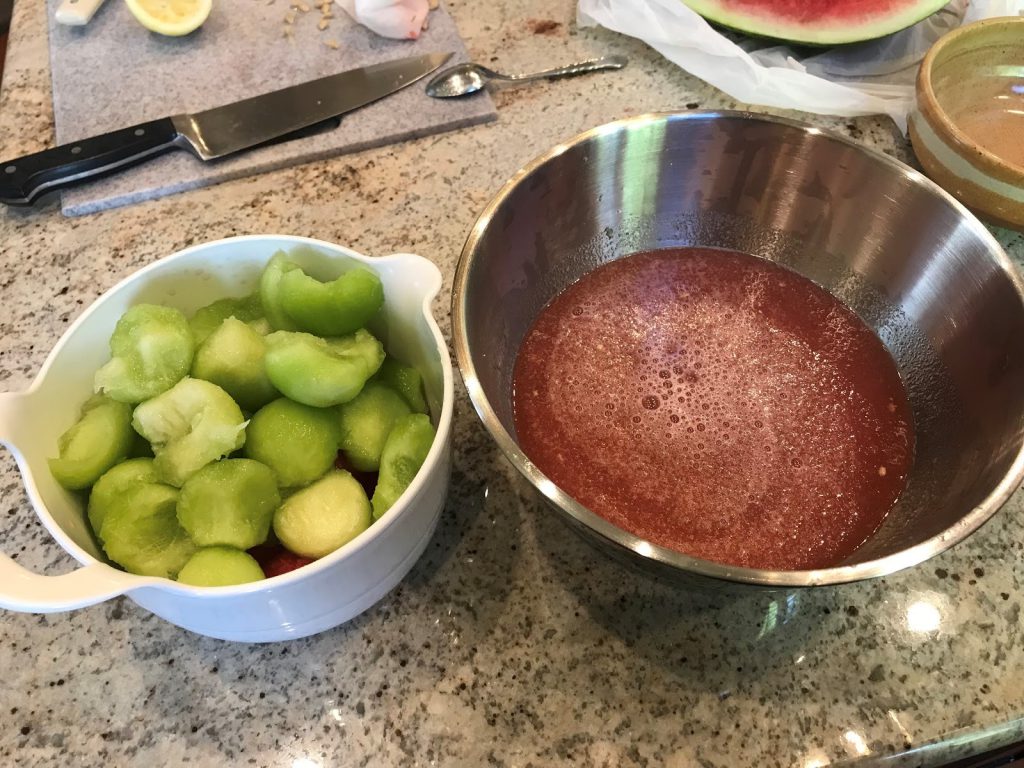 Ready to make Bingsu!
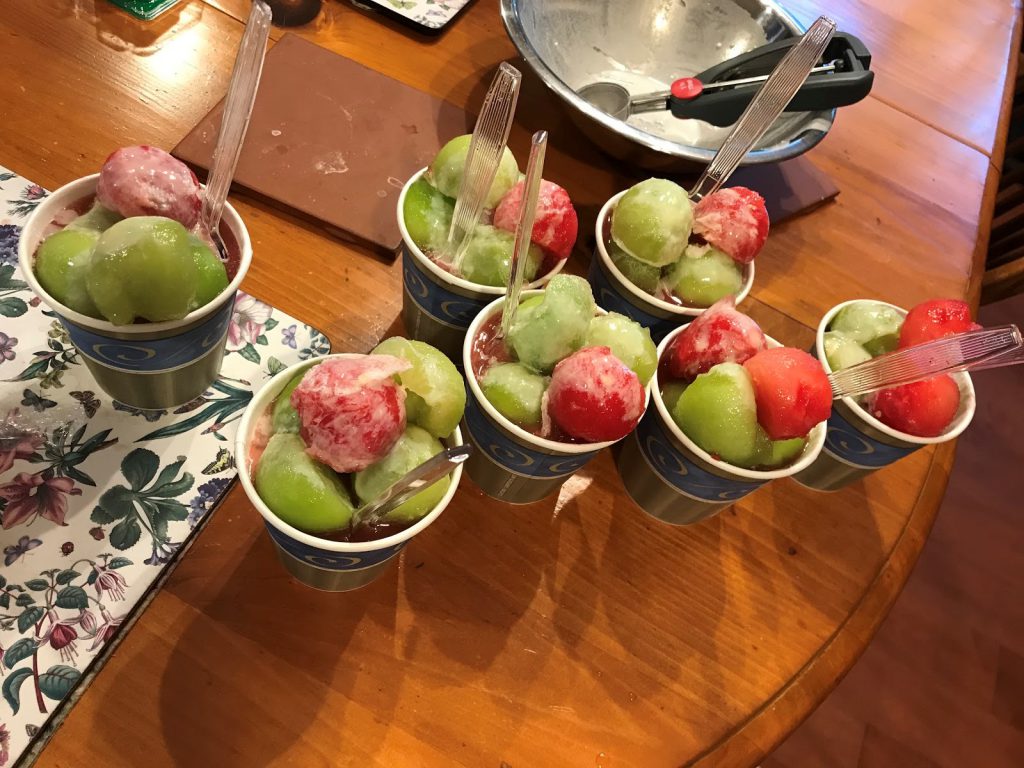 The final result!
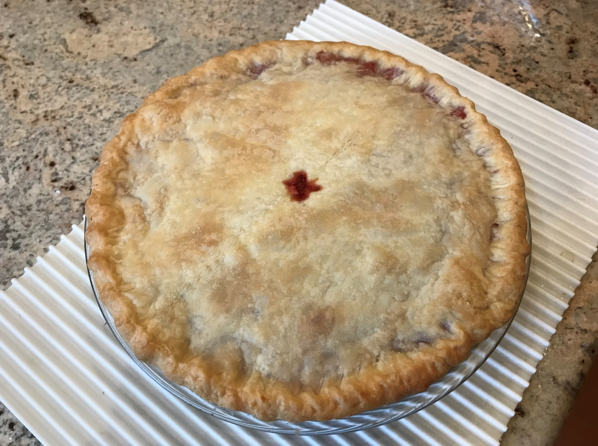 Strawberry Rhubarb Pie
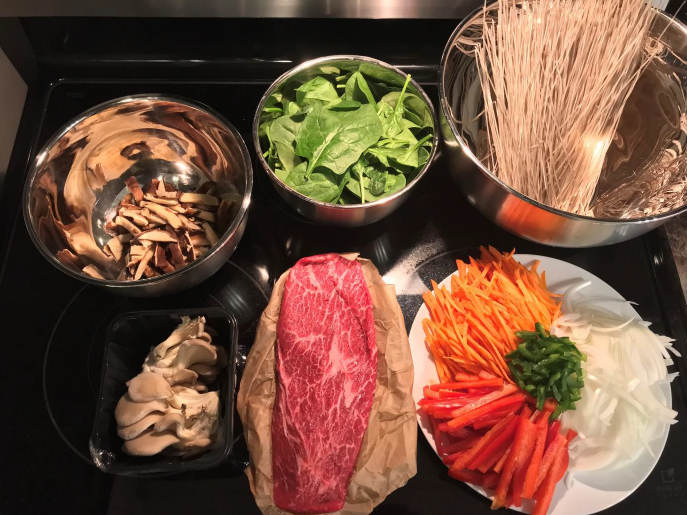 Japchae ingredients
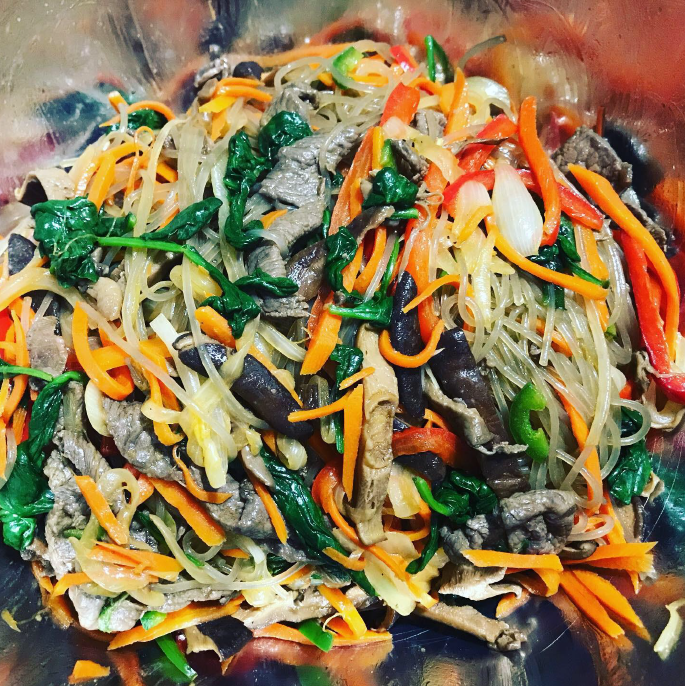 A delicious stir-fry dinner ready to eat!
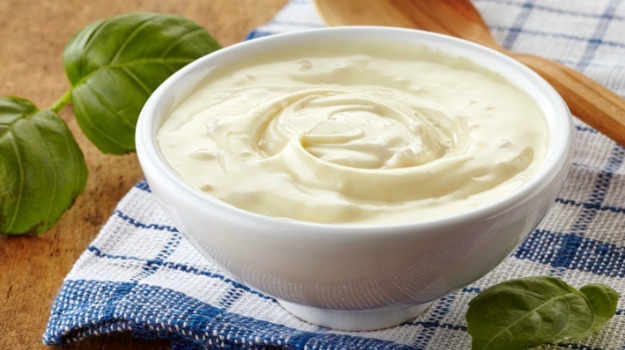 Make your own delicious homemade mayonnaise today!
 Double Chocolate Mayo Cake